Getting Down to Living
Note: this beach house renovation is being described almost as if we did these rooms one at a time, which isn't true. There was significant overlap with all the rooms, which sometimes brought another level of chaos with it. But it was generally done in the order we're describing; it's also much easier to tell the story this way. So let's tell it.
Is a Living Room for Living?
This has changed over my lifetime but when I was growing up, and when this house was built, many peoples' living rooms were there for anything but actually living. It was a more formal space, with the "good" couch and all the other "good" furniture. And kids were definitely not allowed there. Sometimes, they even put plastic covers over the furniture to keep them clean! Nothing says "good living" like stretching out on a plastic covered couch in Florida, eh?
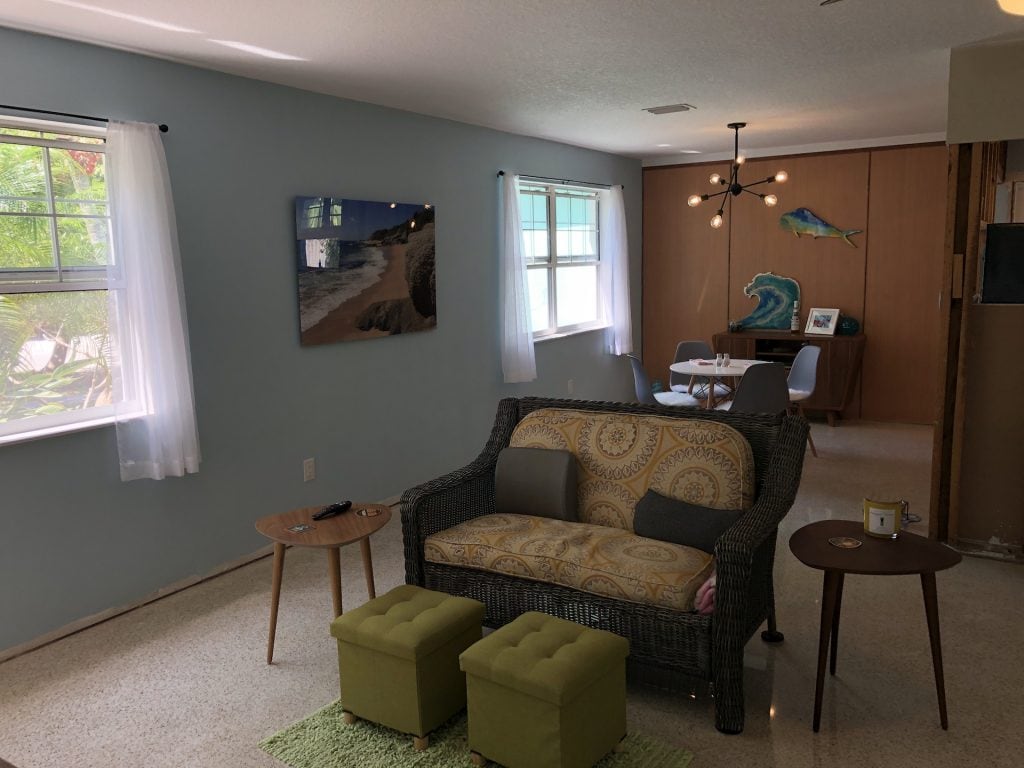
If we wanted that kind of space in our house today (we don't) it wouldn't matter because it just isn't big enough for that luxury. From the front porch, when you come in the front door, you are in the living room, with a modest open dining room to the left, and a kitchen-in-a-box diagonally across the space. To the right are the french doors into the Florida Room which we last blogged about.
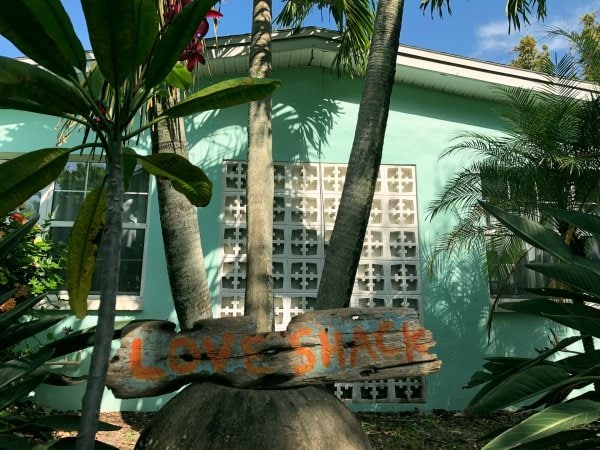
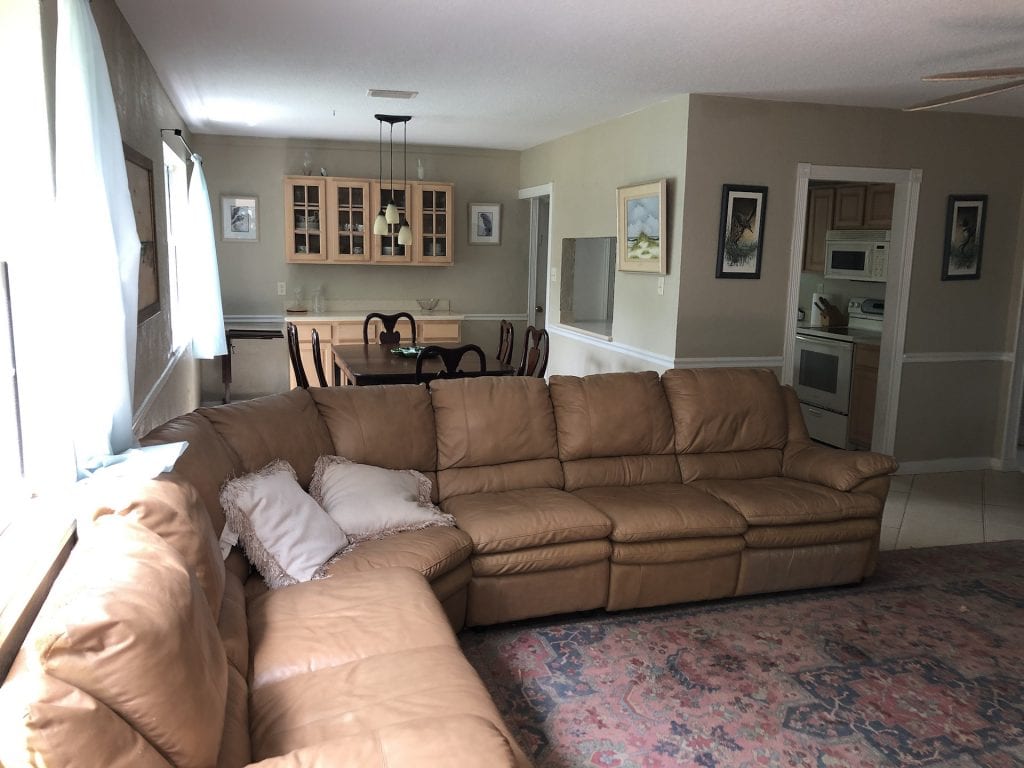
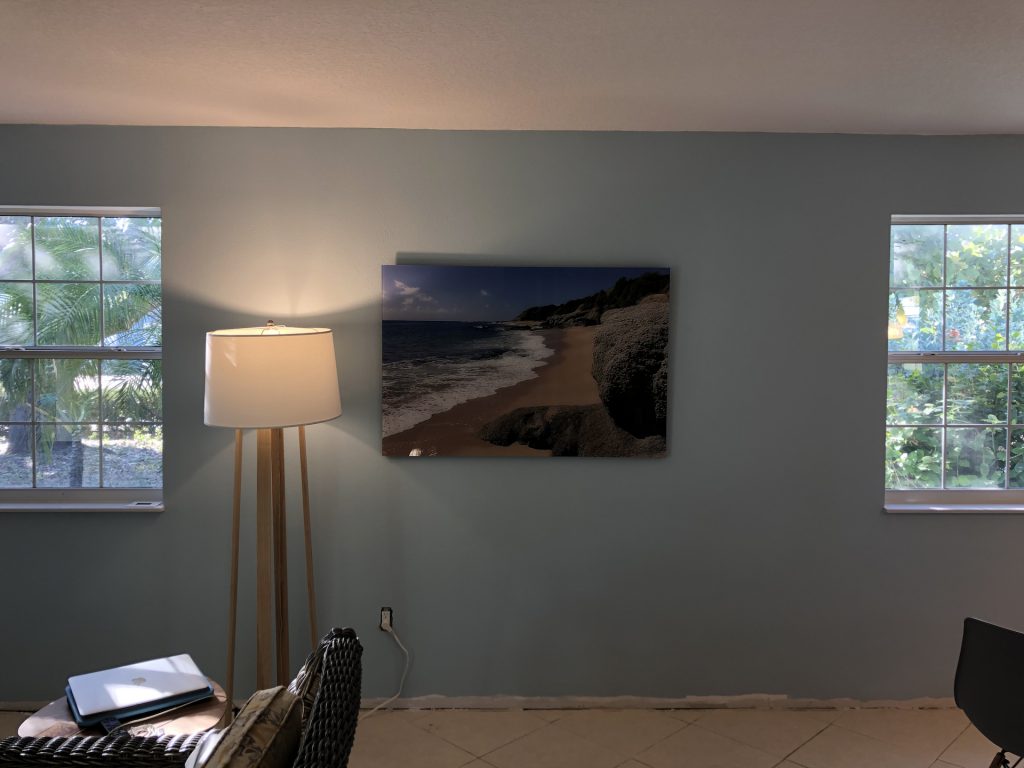
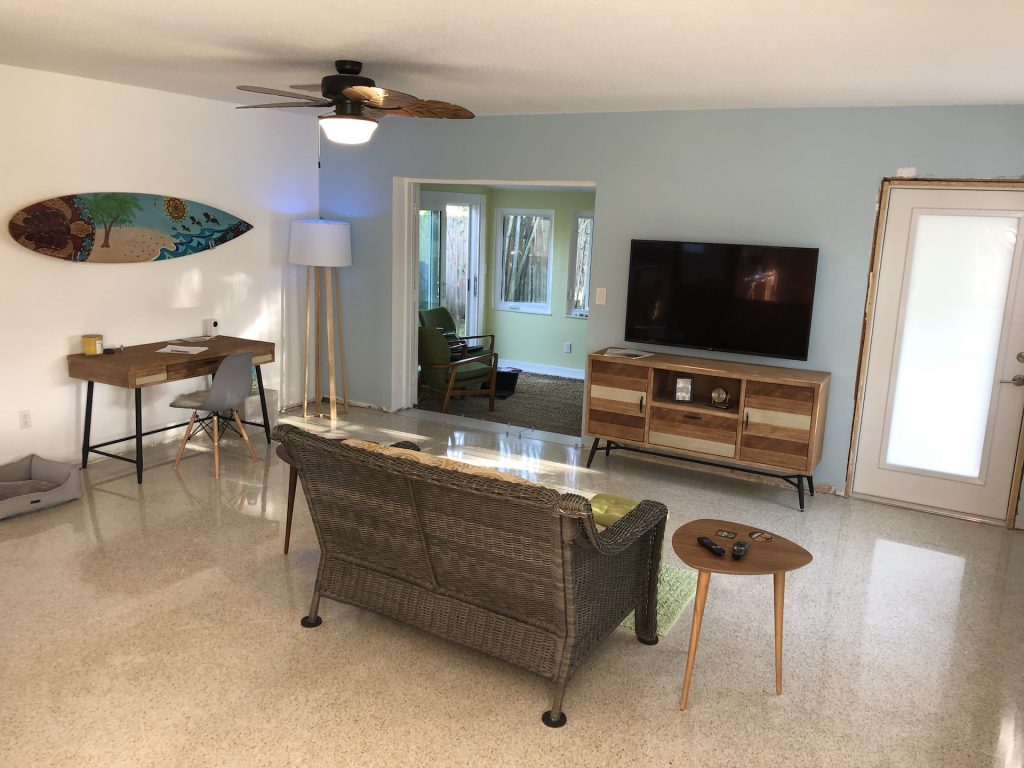
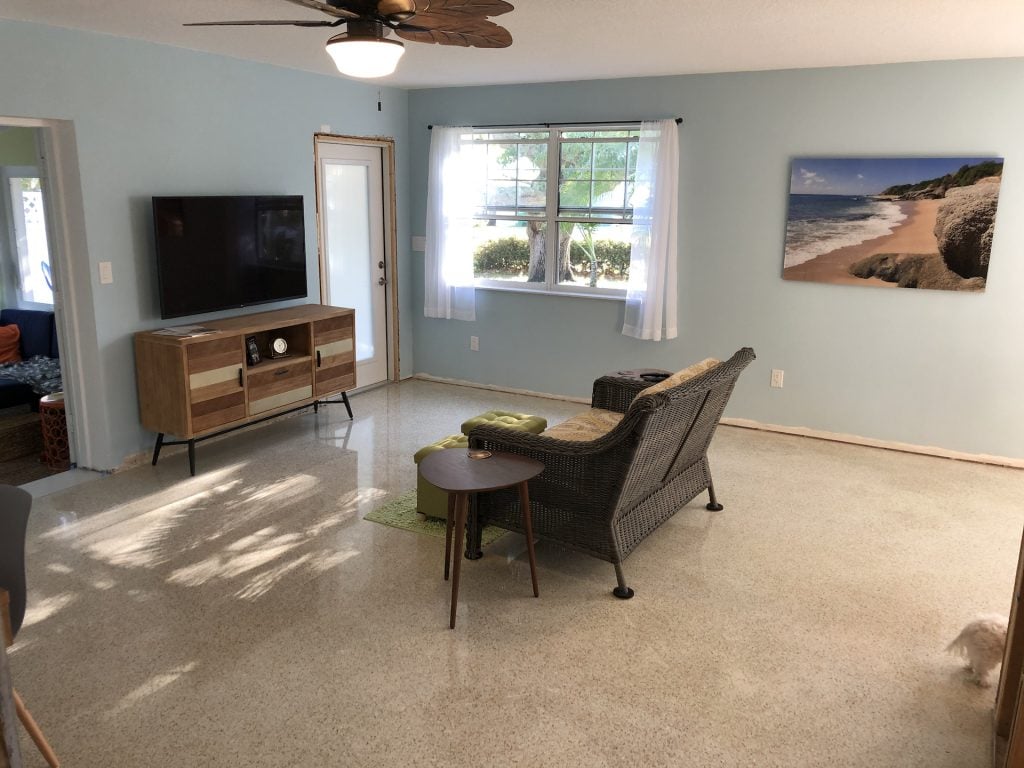
For a small house, the living room is actually a very nice large room with two large front windows looking out to palm trees, birds of paradise, and a classic half-century-old live oak tree. It's a general purpose room really, where you can sit and chat, play games, watch TV, that sort of thing. We added a desk on one wall as well, to pay bills, etc. Our living room is most definitely for living.
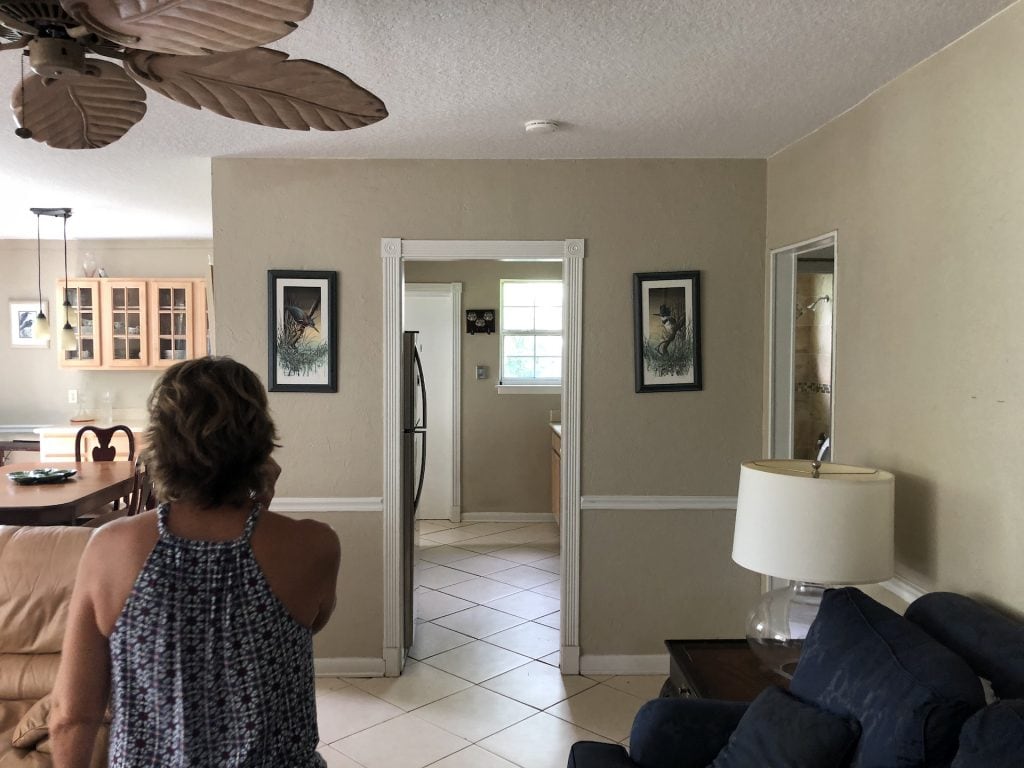
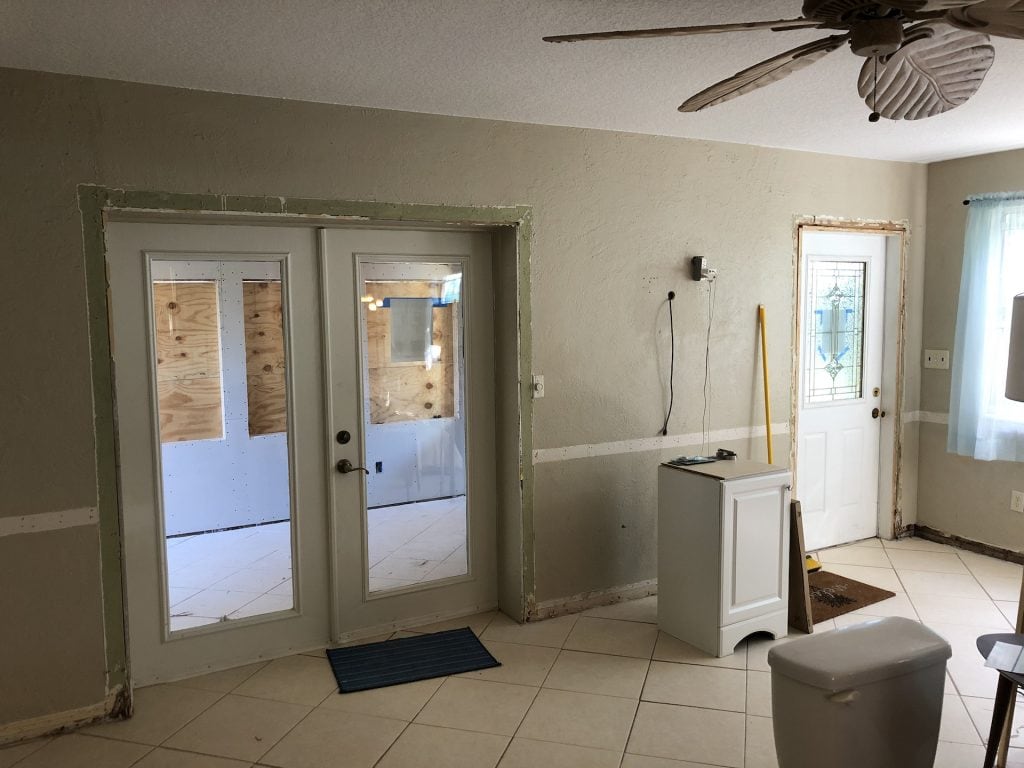
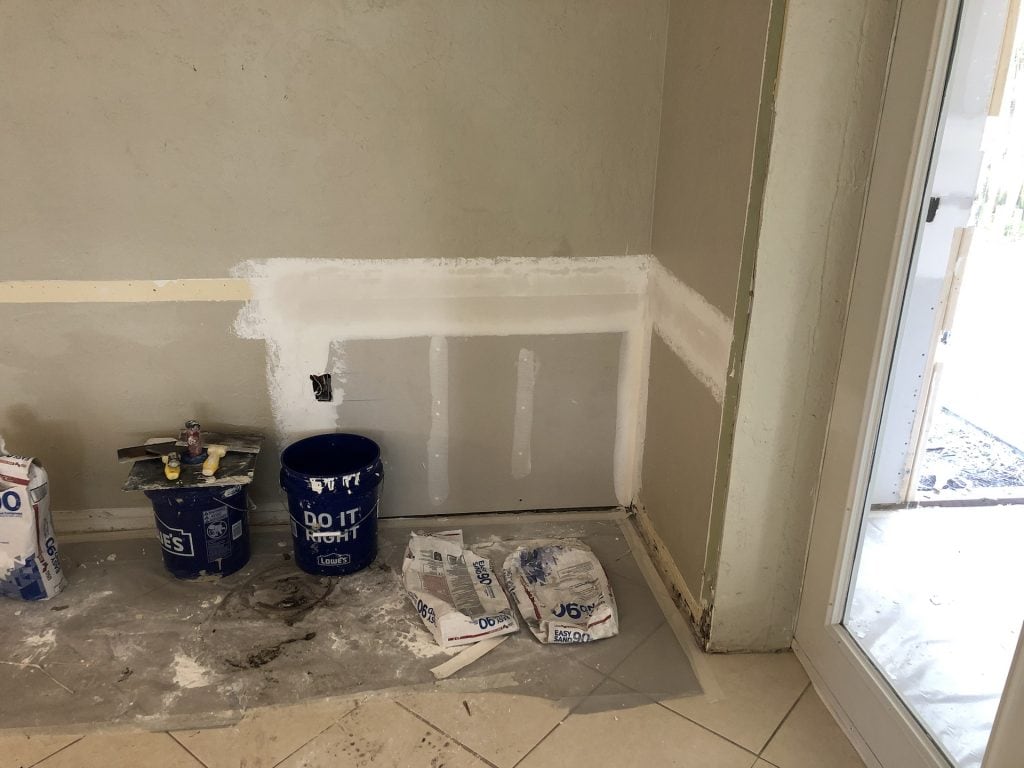
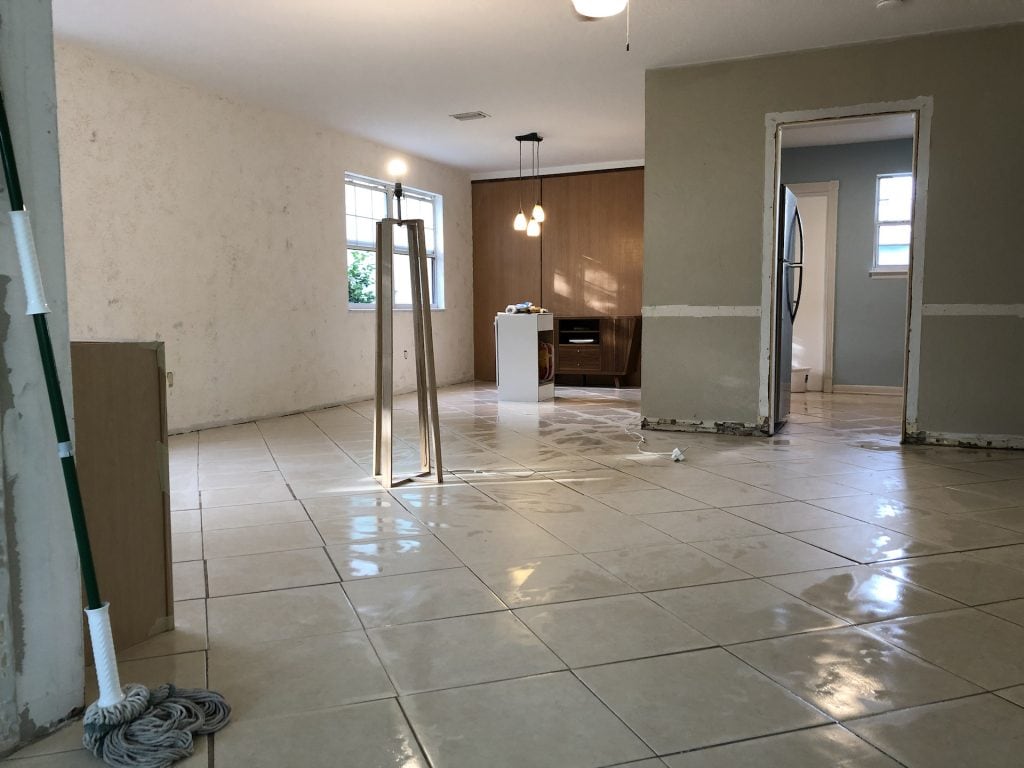
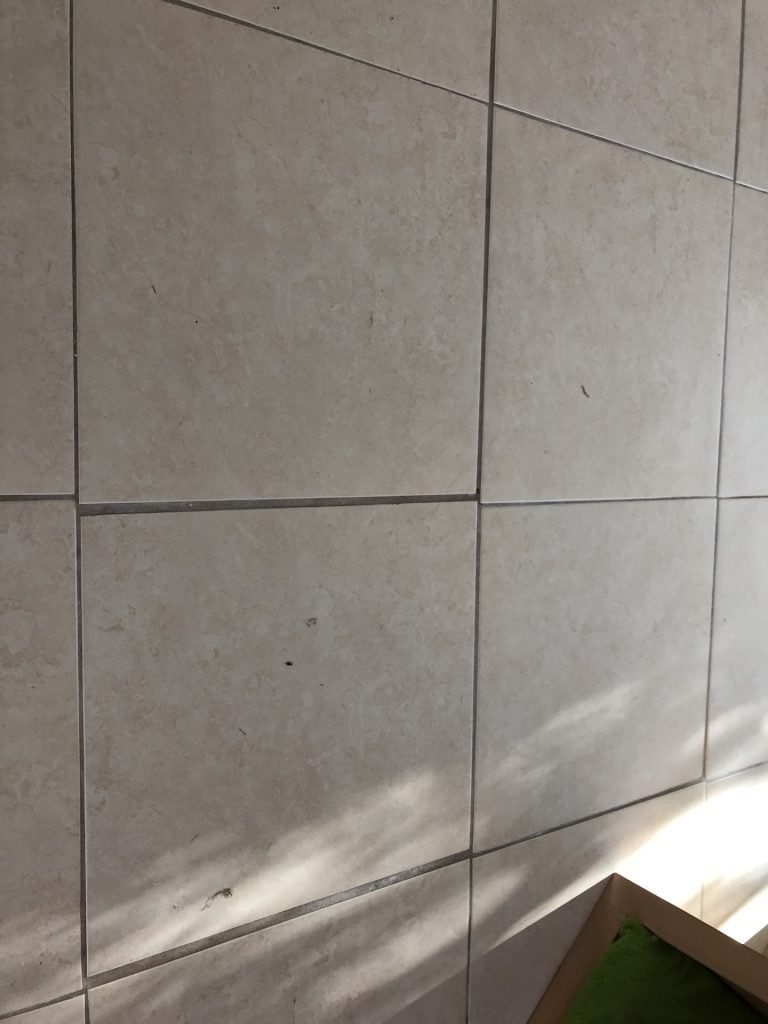
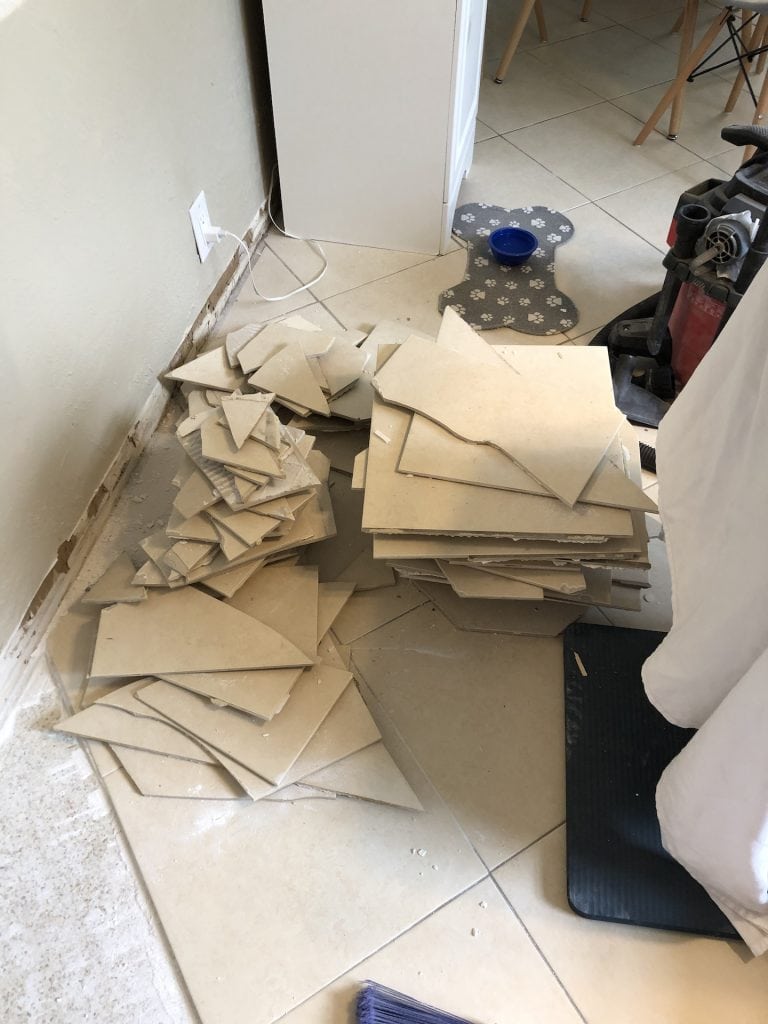
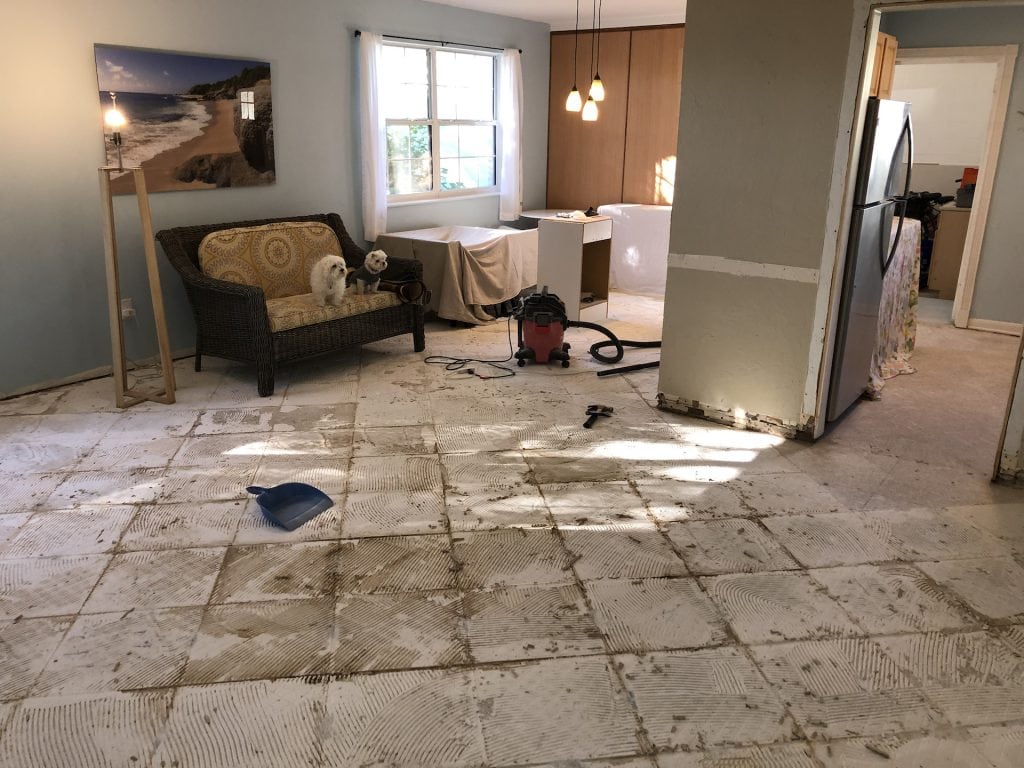
When we bought the house though, it was a sea of beige, top to bottom, left to right. It had a formal-looking chair rail all around, cream colored tiles laid (very poorly) on the diagonal, trim that said "Hello from Home Depot, 1998", and some of the most amateur mud/finishing work of drywall that we've ever seen. So we knew we had work to do here, but much of this work had to wait for other priorities.
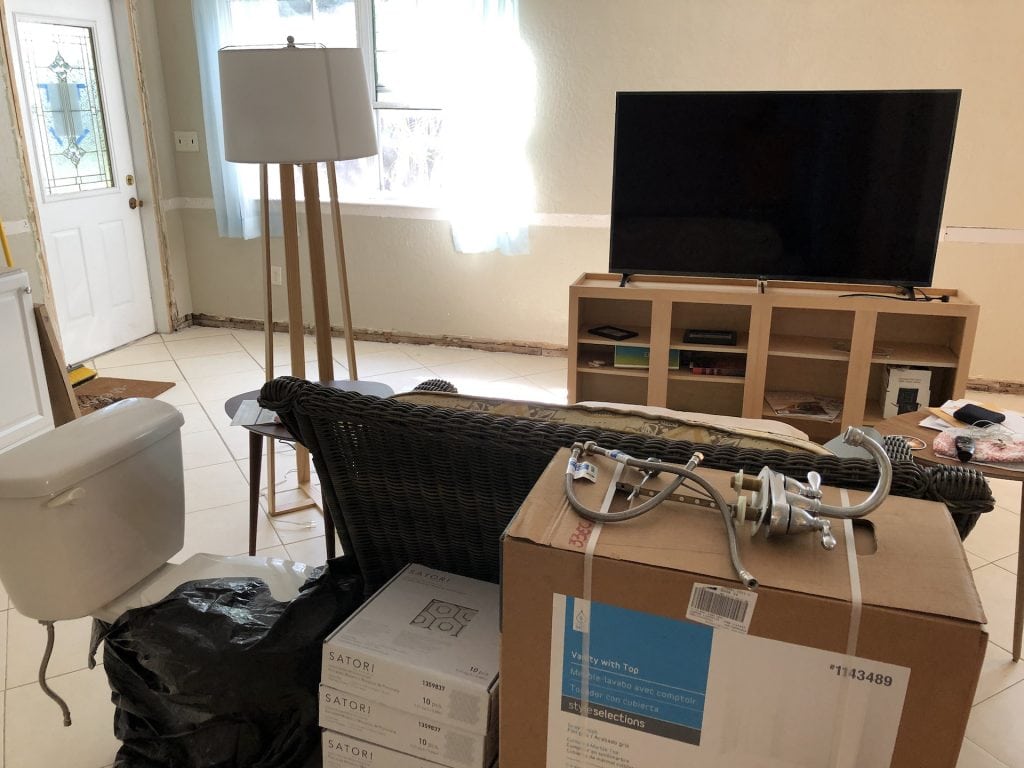
Those priorities made the living room immediately become a staging area and pass-through for all of the work going on in the bedrooms & bathrooms in the back, plus the Florida Room to the side. And by "staging", I mean we had a toilet and bathroom vanity sitting in our living room for months. It was definitely cause for celebration the day those things finally made their way back into the bathroom!
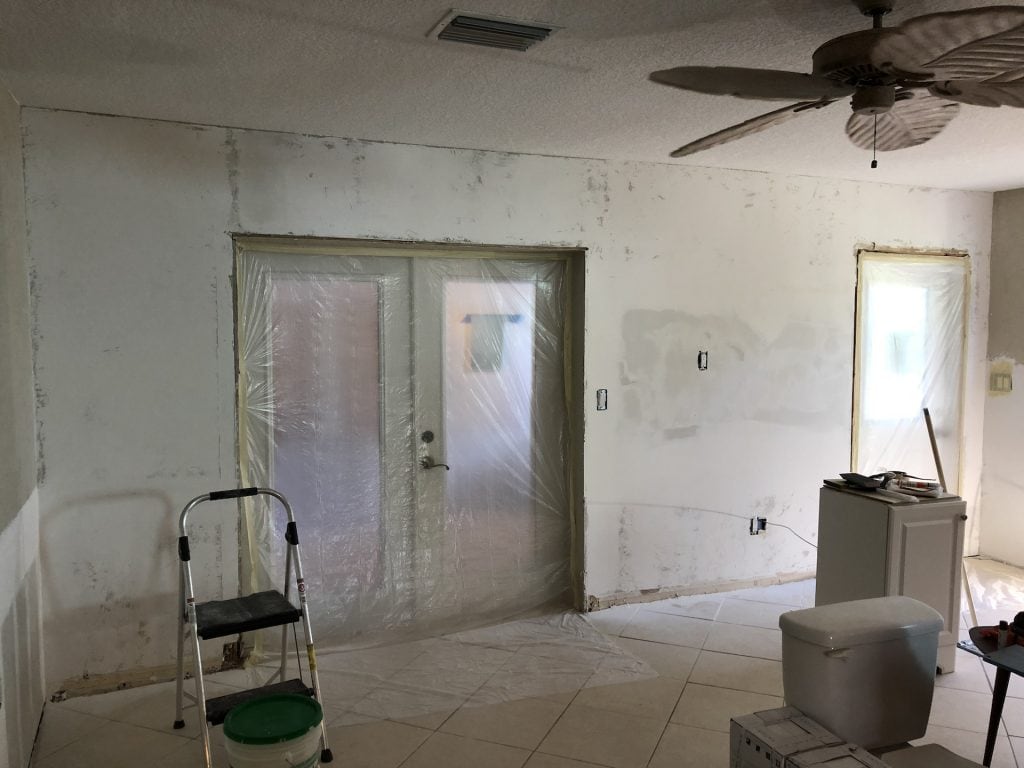
Once we'd moved our work from the back of the house toward the front, the jobs got larger. Well, the rooms got larger anyway. This was a room where the vast majority of the work was done by Deb and I, in several start/stop cycles, and with a bit of help from some great floor guys. But don't let us get ahead of ourselves; let's talk about what it looked like before, during, and after our work. You can see in the pictures below what we started with, and the progression.
During
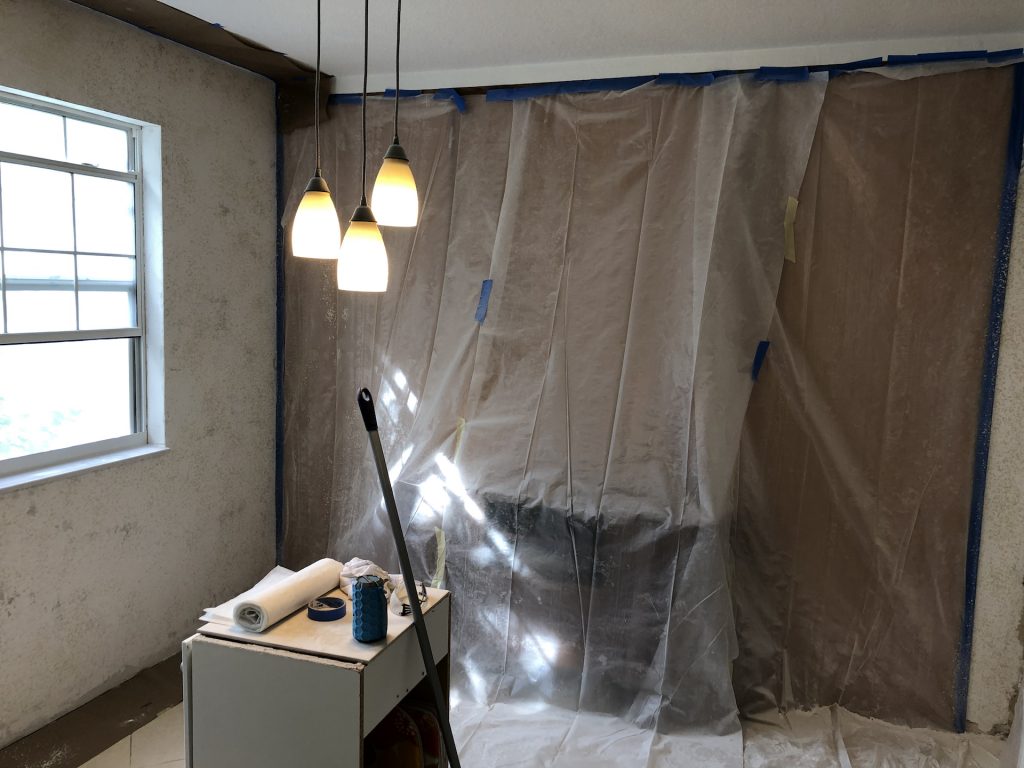
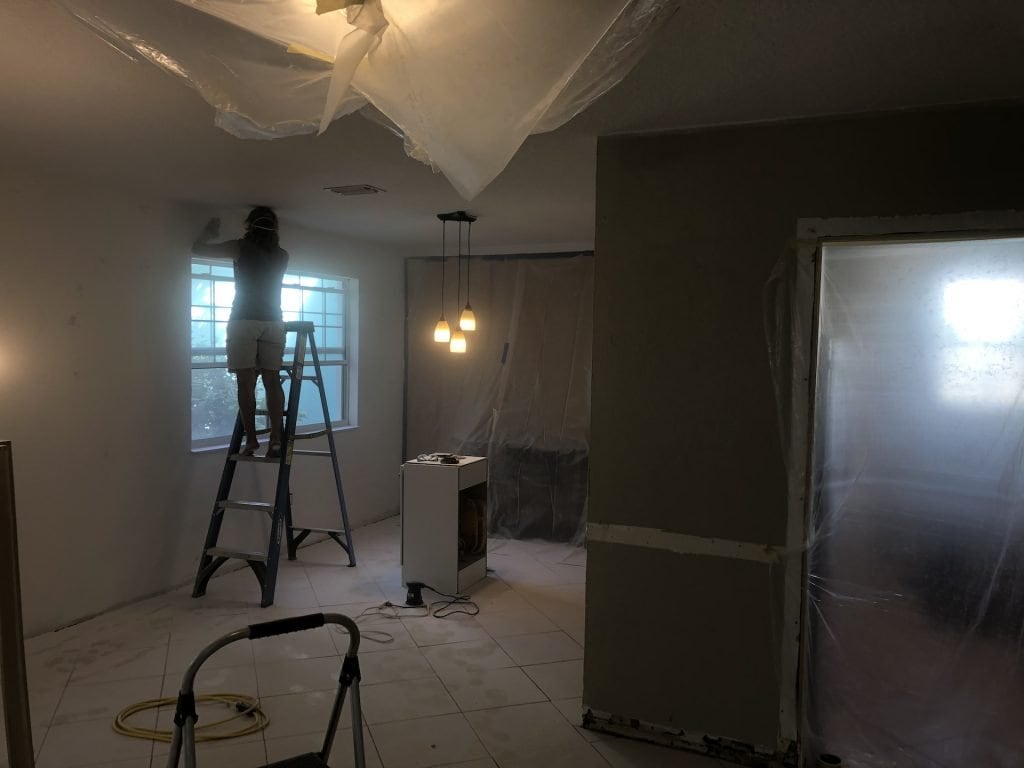
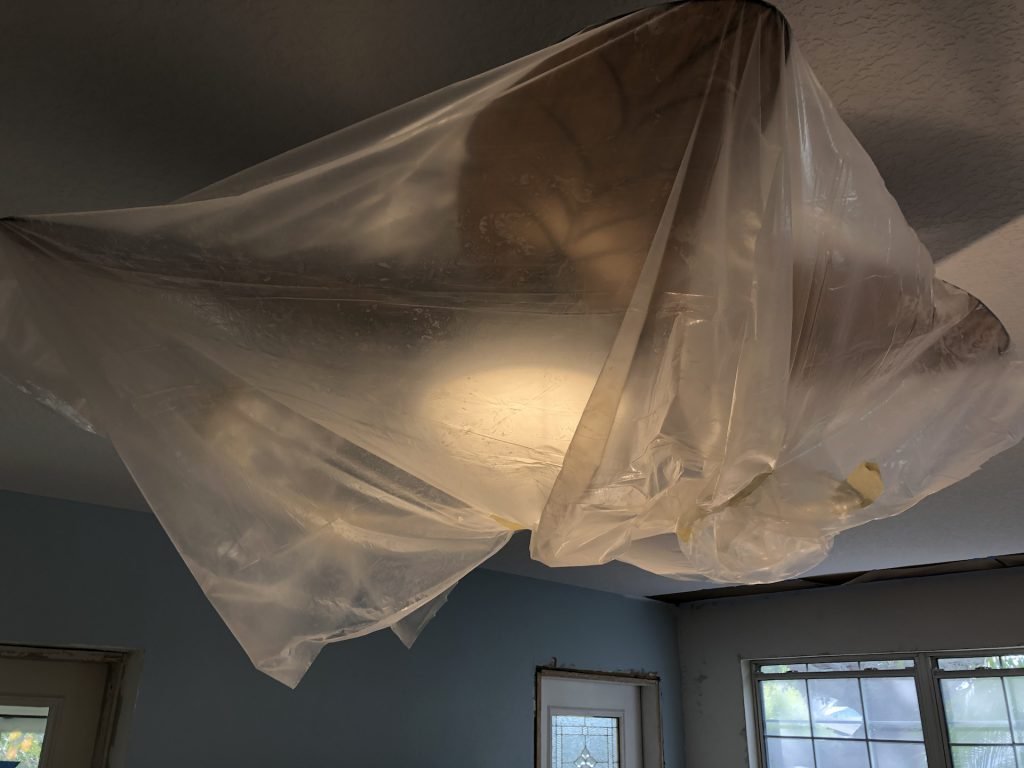
We had a process that went like this: "work --> create a lot of dust --> clean up --> live a little --> repeat". Most of these steps produced so much dust that in order to live here at all, we simply had to clean up at the end of each day. We also had to change the HVAC filters a lot! This all became mentally taxing for me at times, as I asked myself, "Didn't we just do this yesterday, and the day before, and last week?". But that's what was required and as usual, Deb kept us on task.
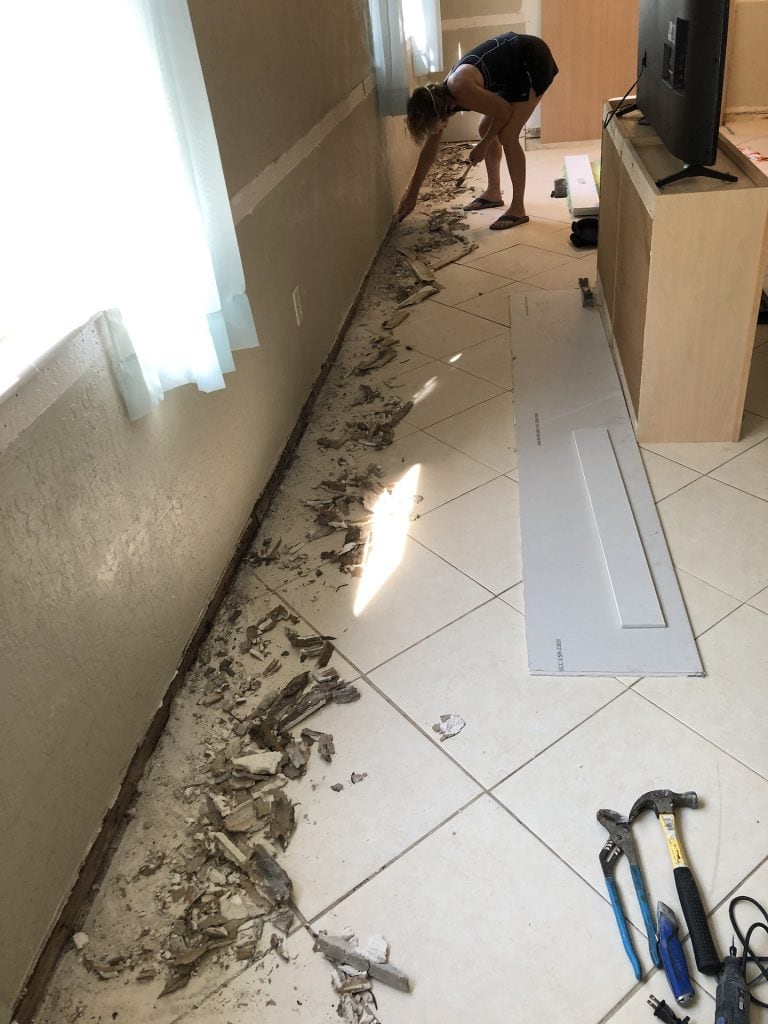
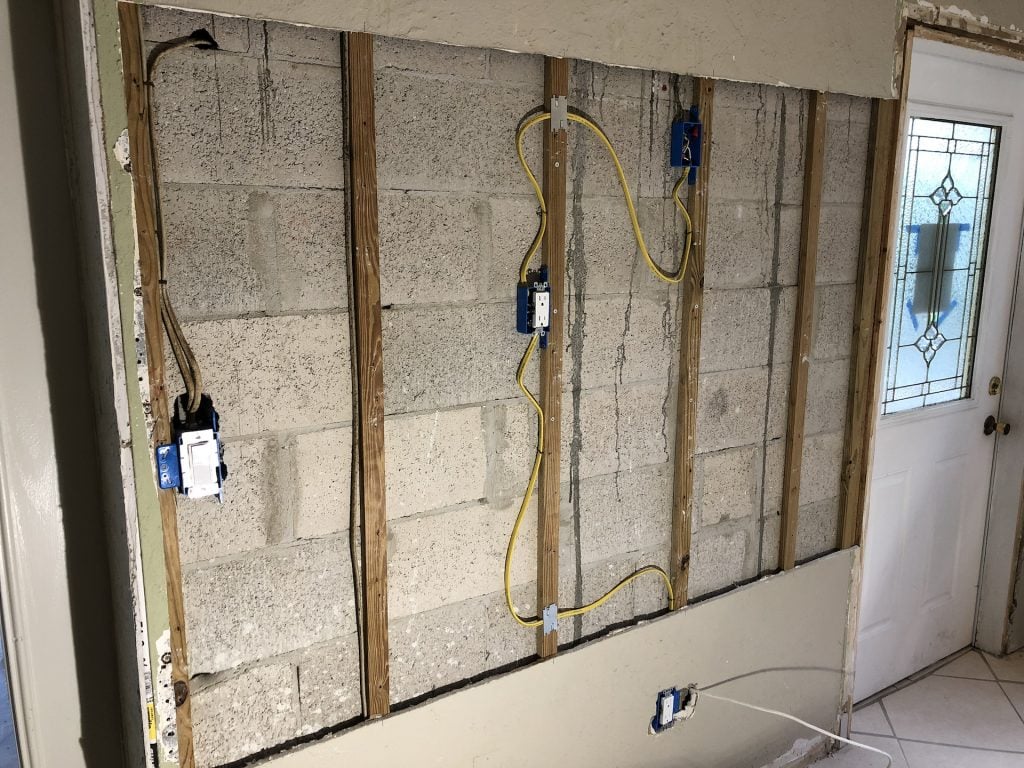
The work in the living room can be summarized as "electrical, walls, & floors". The one thing in that entire room that was done professionally was the ceiling - it was a very well done knockdown finish on drywall. In spite of that short list, this room took the longest (because "staging area", see above). Ordering things like furniture, doors, etc. also dragged things out quite a bit. Even today, we continue to wait for the couch we ordered in February, which will really finish it off. And that short summary list doesn't describe the actual steps we took, which were much more random. First we removed the trim, including the chair rail, which was all ridiculously attached with nails, screws, caulk, and construction adhesive, and then a bunch of crumbling drywall. We didn't understand why the bottom drywall kept coming apart, but later realized in many places it was an added strip of a couple of inches of extra drywall. That's because the ceiling is 8'2" tall, not 8'0" like the size of a sheet of drywall. We learned in the islands not to ask why, so don't don't ask why!
There was some electrical work in the living room walls to get the wiring we needed out to the Florida Room. We also needed to adjust some of the electrical outlets to give our TV the "floating" look on the wall. That meant adding and fixing the outlets behind the TV, and that meant more drywall had to come out. Our contractor, the boss, stopped by one day and said "every time I come here, you have another wall opened up". It wasn't his part of the job so he didn't care, but it was obviously true. We're not afraid of bare walls; in fact, I like it because then I know what's going inside the walls instead of just wondering.
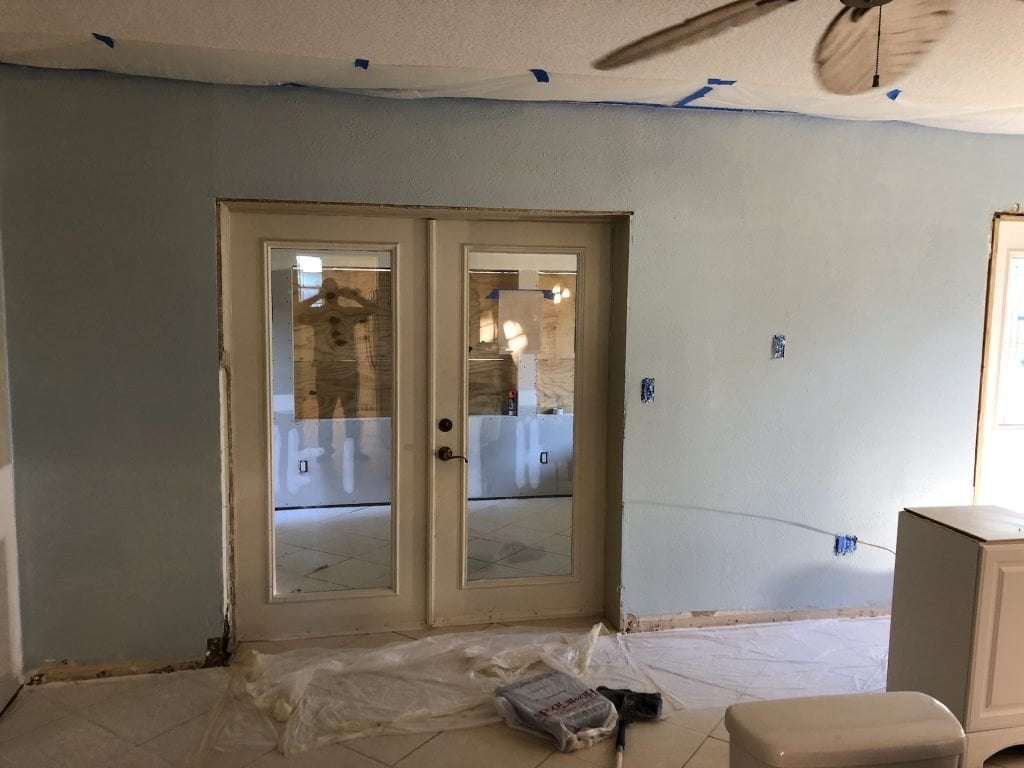
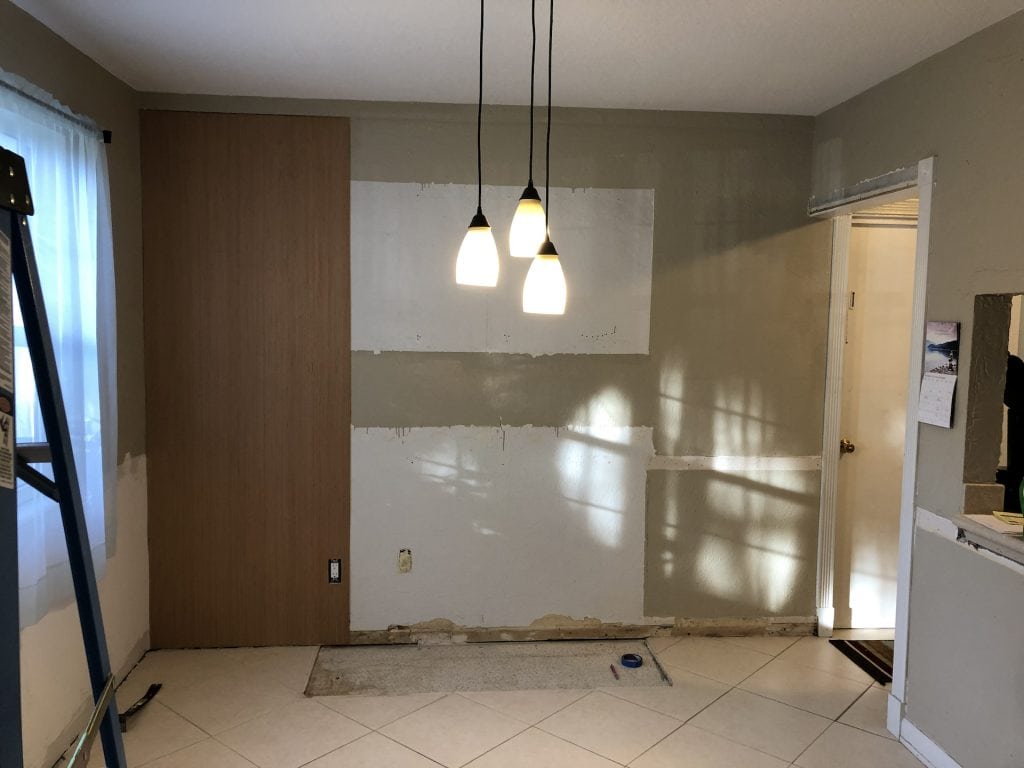
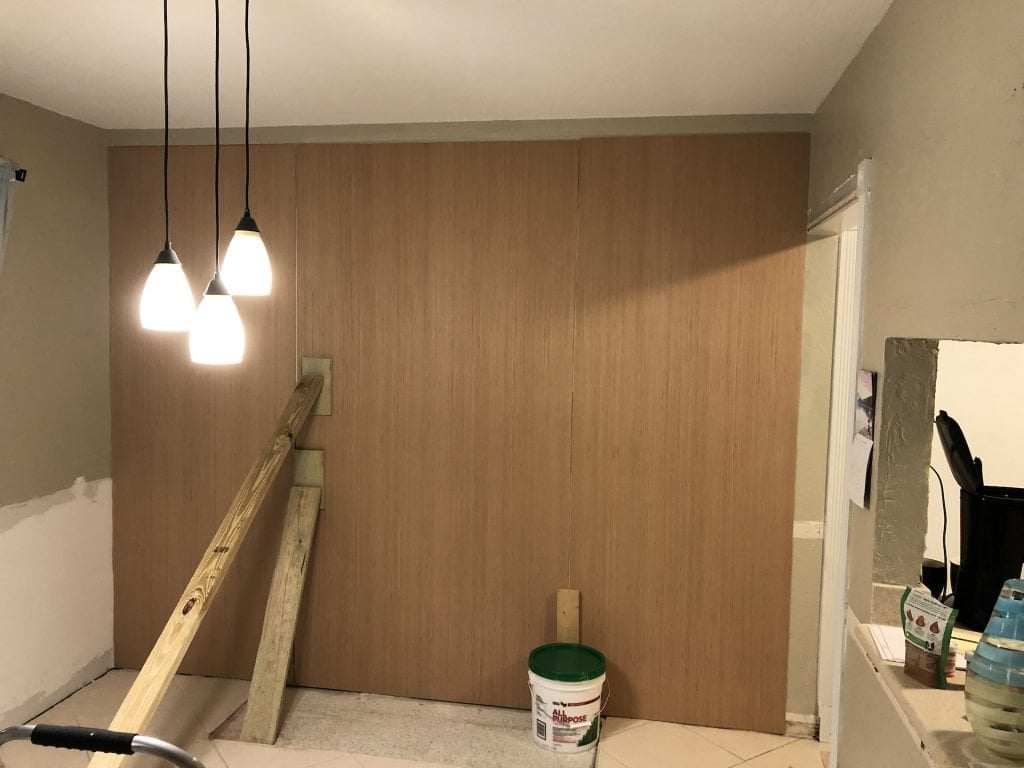
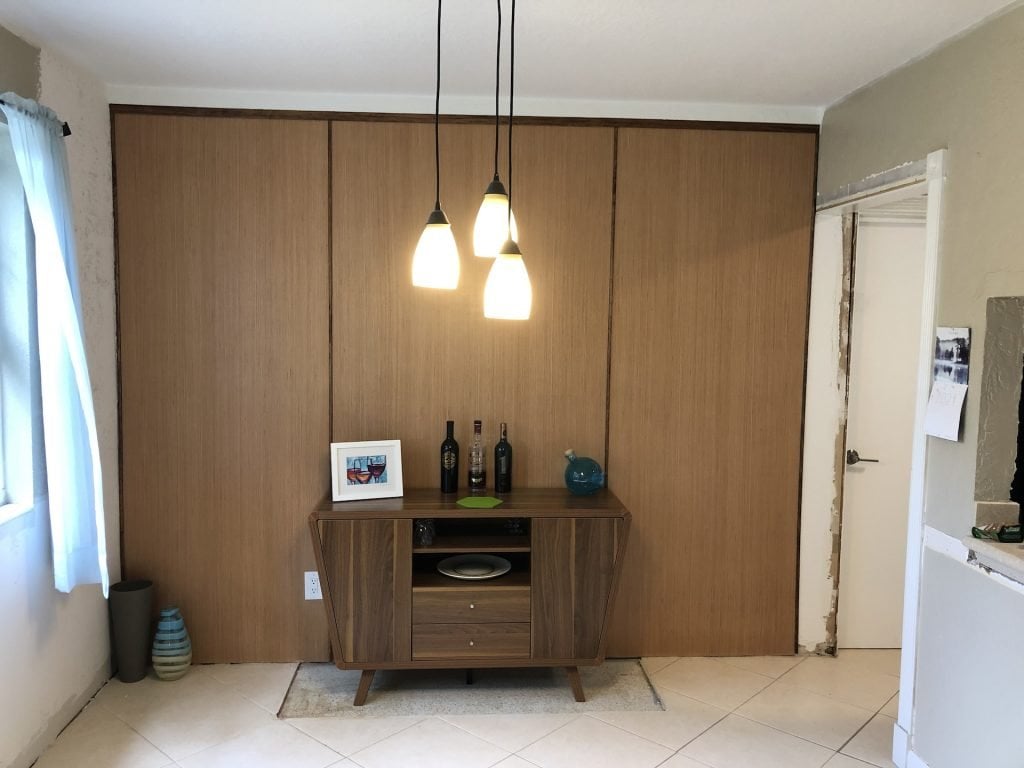
We worked this room one wall at a time because each one had their own requirements. The TV was delivered and we wanted to mount it - the wall was the safest place for it. We followed that with our paneled wall in the dining room, which was another tribute to the history of the place; paneled walls were en vogue back then. That wall also had some electrical fixes in it prior to finishing, but it was easy because the garage is behind the wall and it was already opened up for the plumbing work (see post Down the Drain).
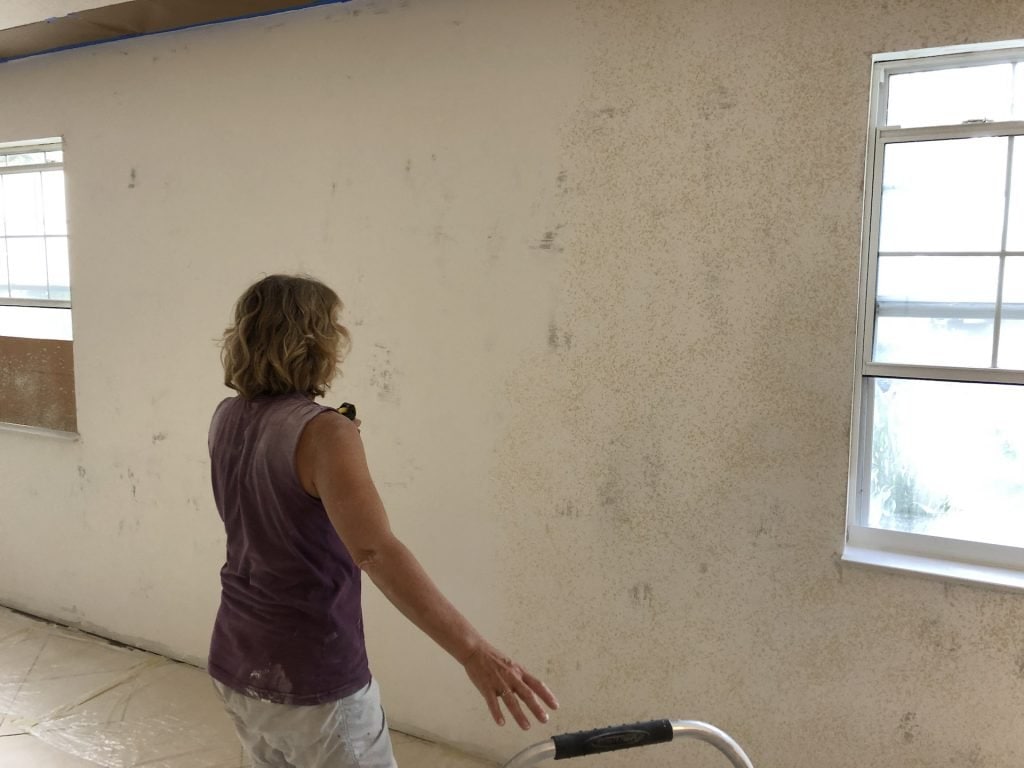
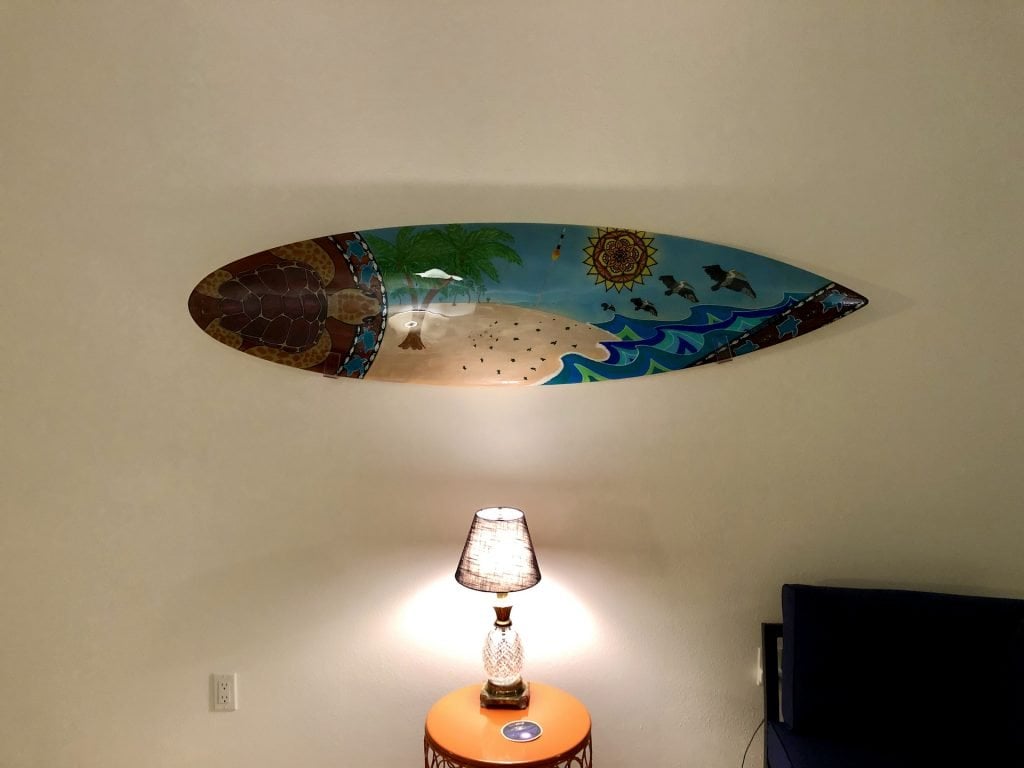
At some point during all this, the contractor's "mud guy" was skimming a wall in the Florida Room so he could make the texture consistent throughout the room. As we watched him we realized our plan for the living room walls was wrong. We were going to sand down the "cake frosting" finish, and refinish the texture. But seeing his work made it obvious to us that the best approach was skimming a new layer over the top and texturing that. We then realized that this wasn't an insurmountable obstacle for us, so we surmounted it! I guess that's what we did, we skimmed the two large walls anyway, to prepare them for paint. We learned that too little mud doesn't cover enough of the rustic beach shack slop, but that too much mud makes for too much sanding! Way too much sanding! And later still we learned that hitting the mud with a wet sponge after a short setting period reduces the sanding even further. Eventually, we learned the Goldilocks method and got it all "just right". So...in our next house... Hahahaha, there is no next house! If we're lucky the next house is really an urn of our ashes tossed into the ocean! But in the meantime, so much dust. We did start hanging some art on the walls, just because, but we kept having to clean the dust off of it! SO MUCH DUST!
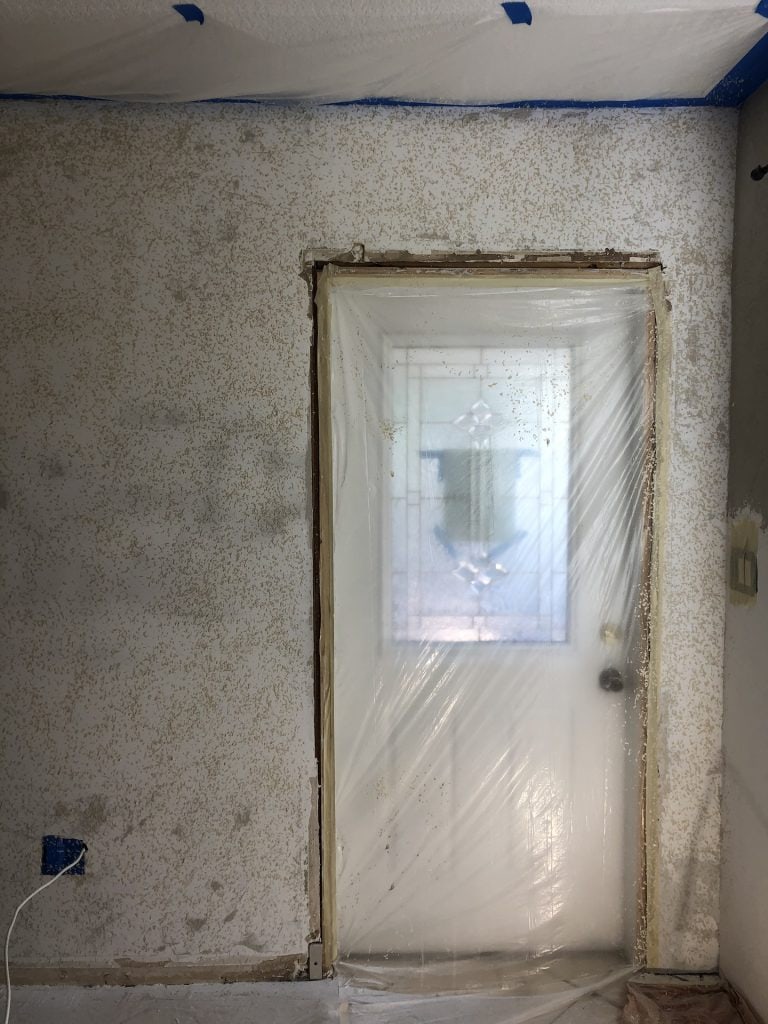
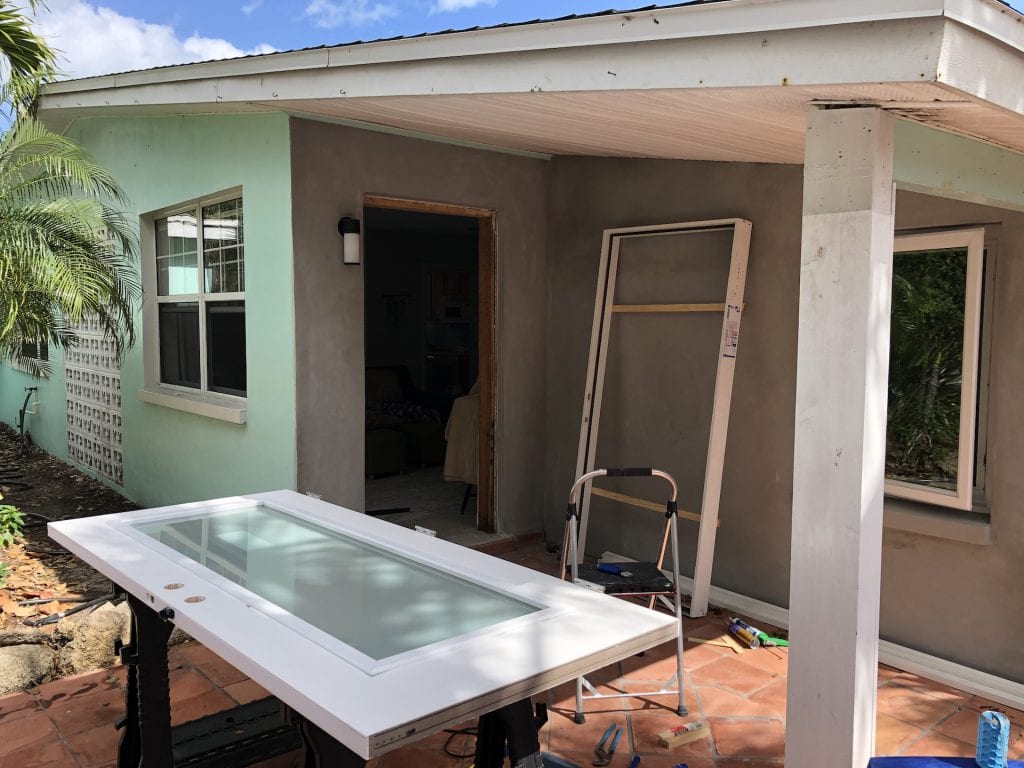
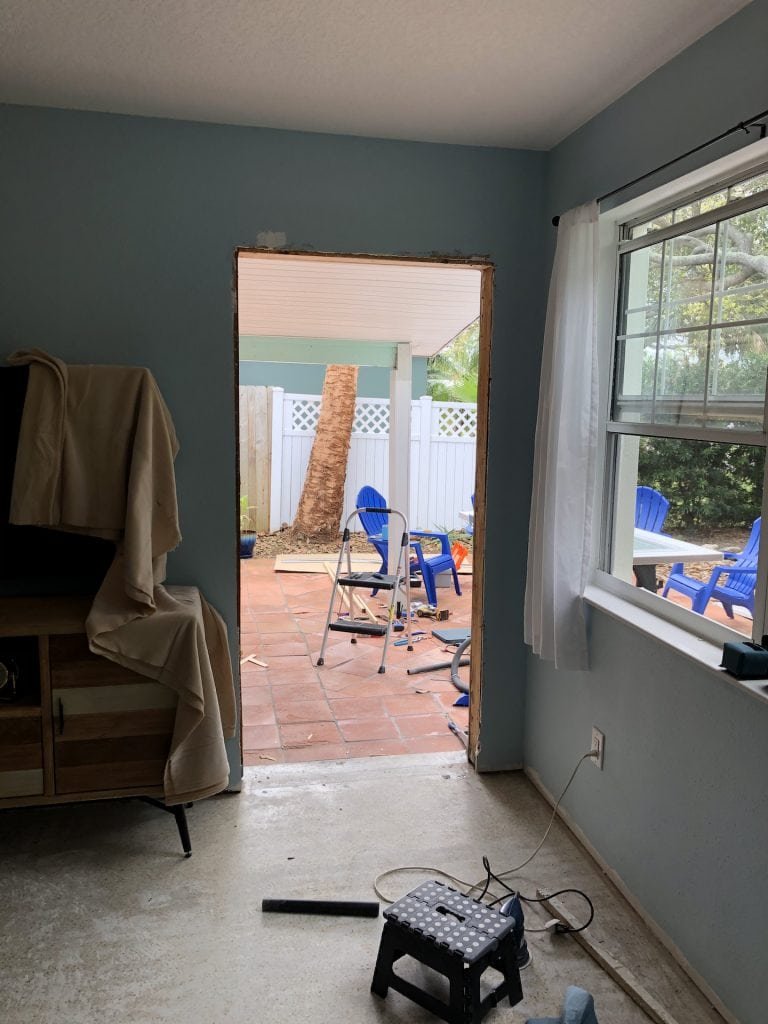
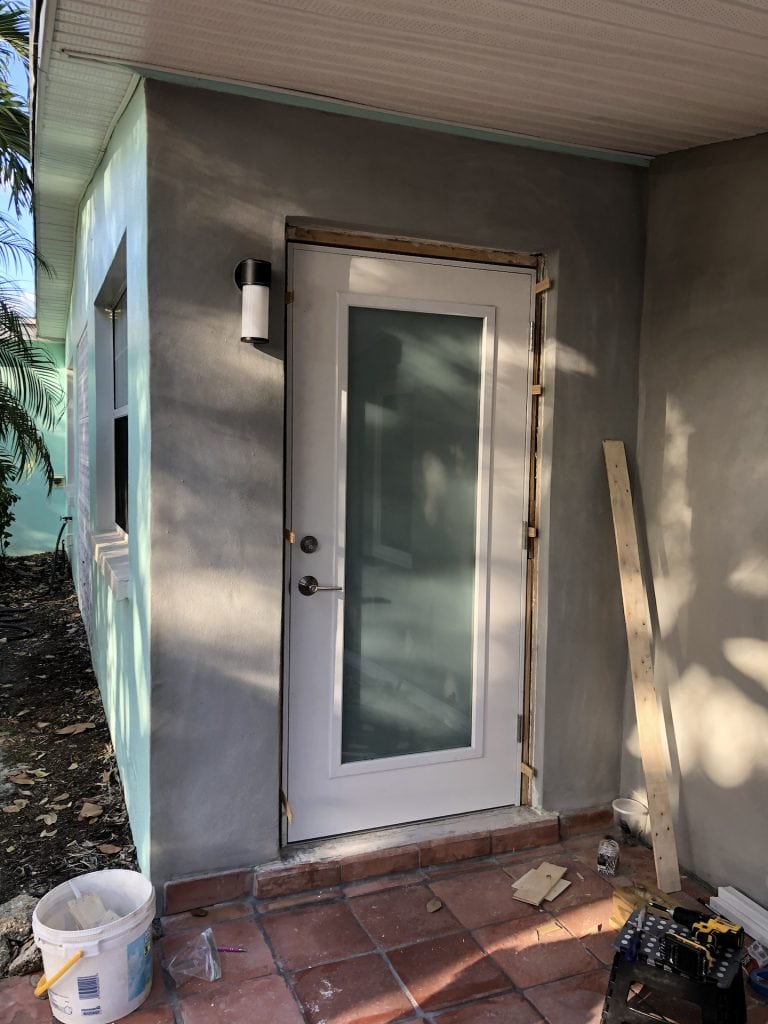
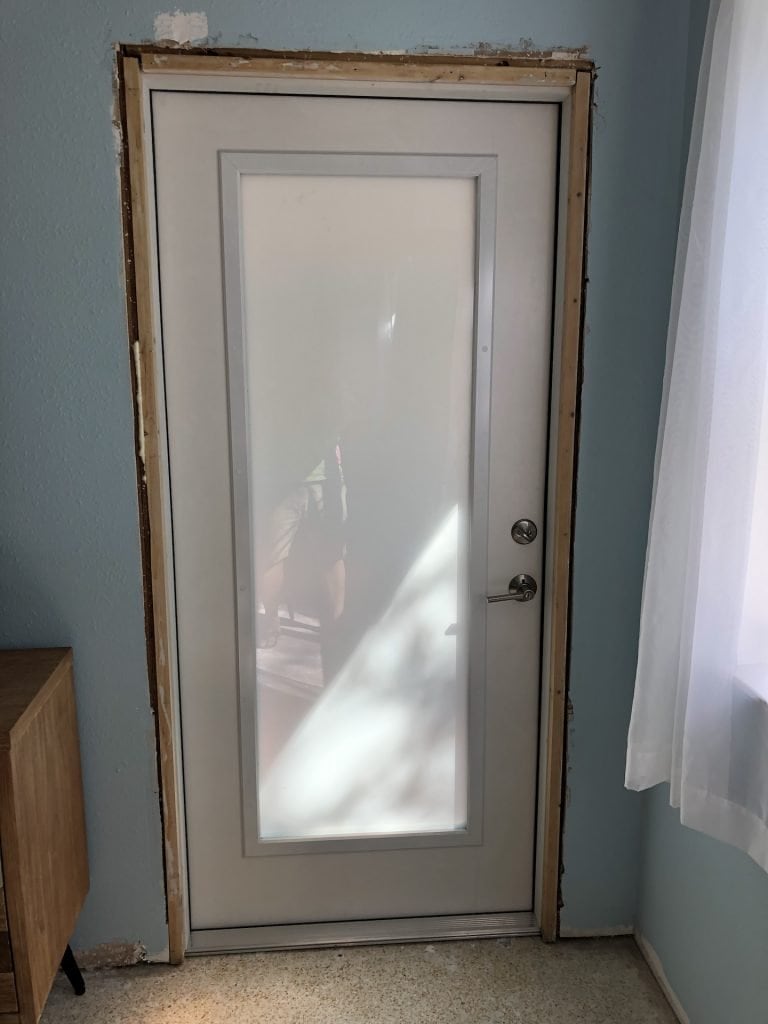
Then came the front door. The door wasn't bad, per se, but it wasn't really good in any way either. It was yellow, which was a nice look, but that was about it. It had a half pane of window, and that window was leaded and beveled, not really our style. We wanted a full pane frosted look - simple, clean, modern.
The door glass was not impact rated either, for hurricanes, and that was the final straw. We are eventually going to replace all the glass in the house with impact windows, so this was one more step in the right direction. The job itself was easier than expected, the only real challenge was drilling into the concrete block and even that wasn't bad. We're really glad we didn't pay anyone to do this job, because they wanted many hundreds of dollars for a job we did ourselves in just a few hours. And as we always say, "Nobody cares more about our house than we do", so now we know it's done right.
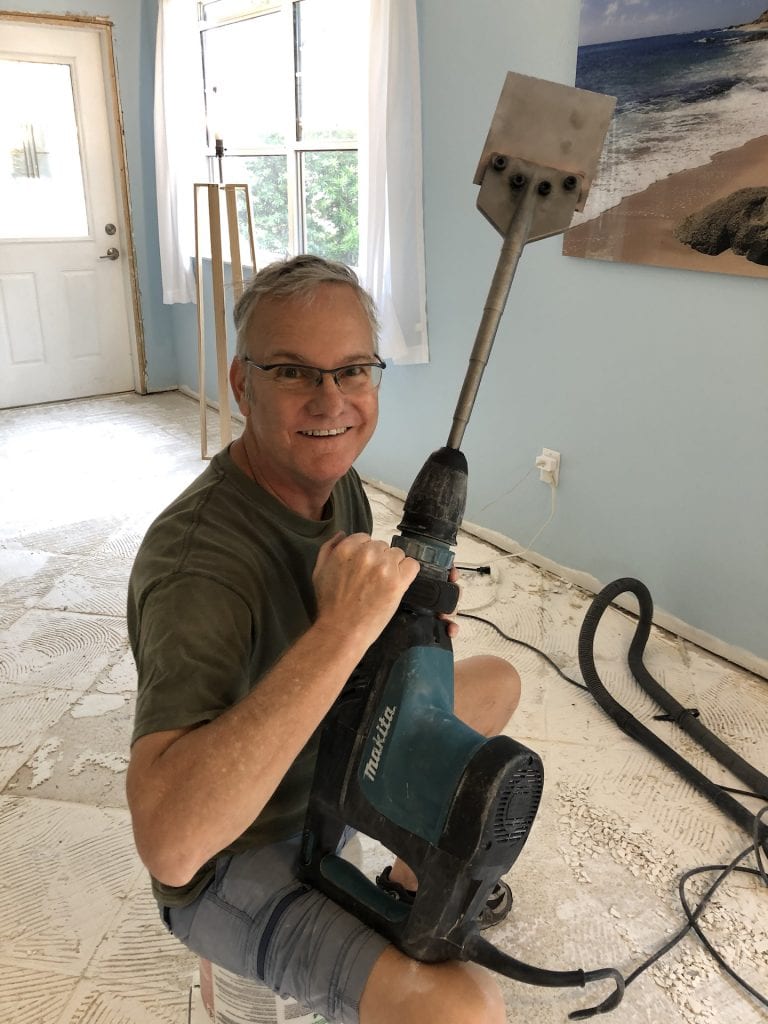
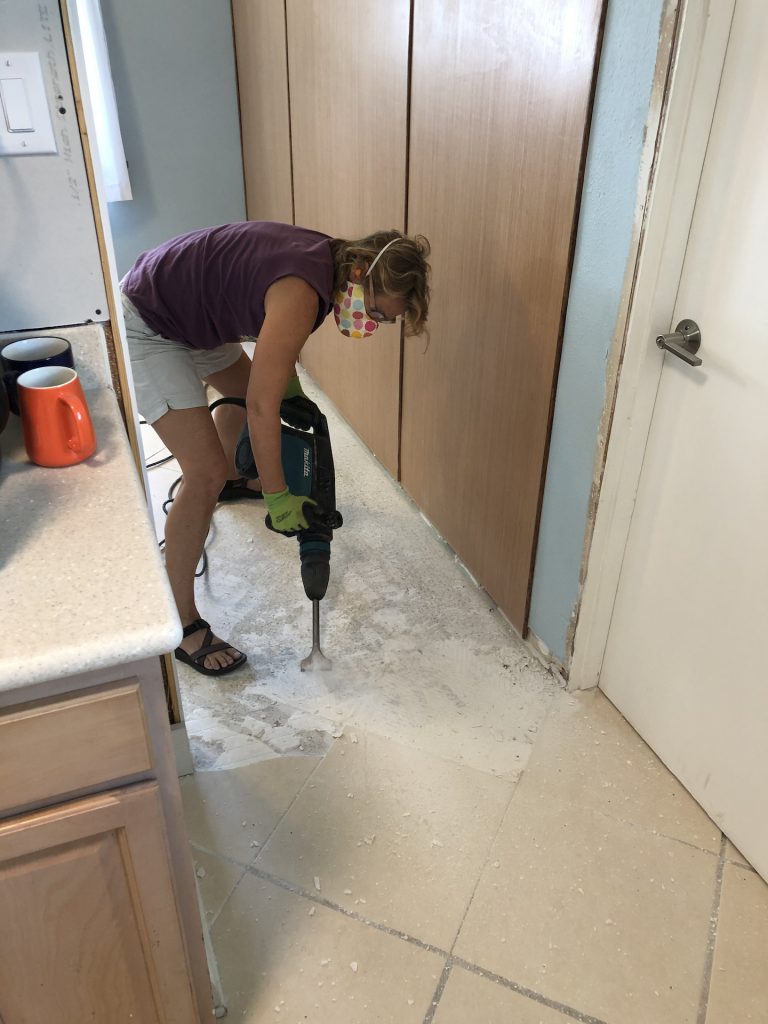
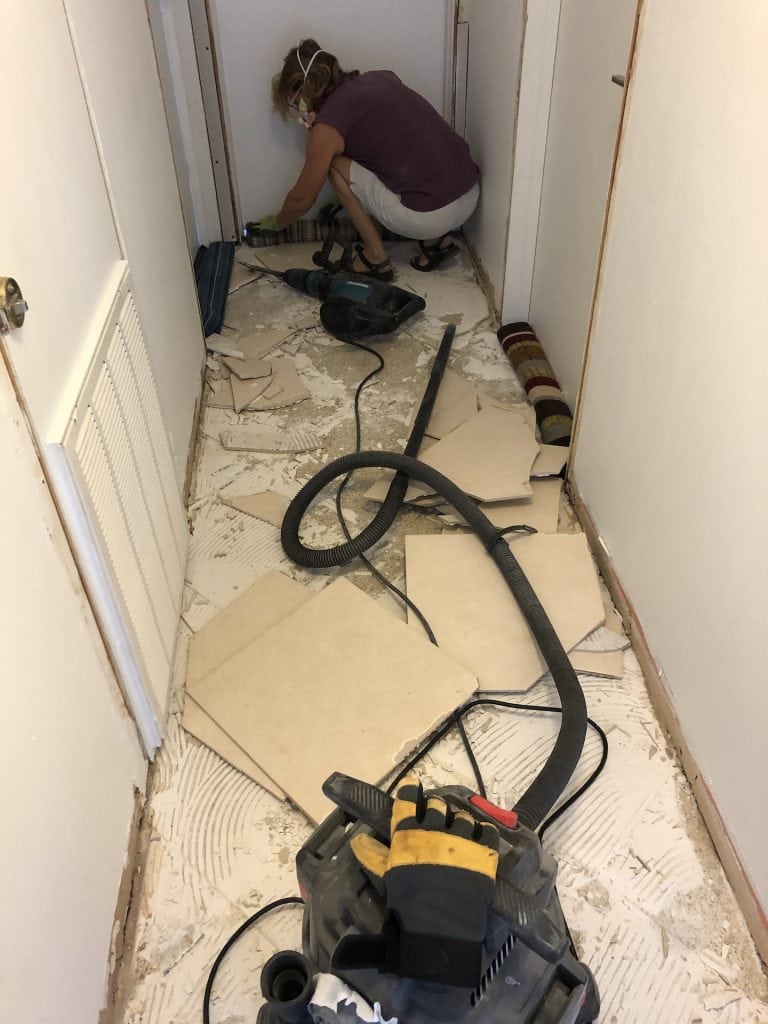
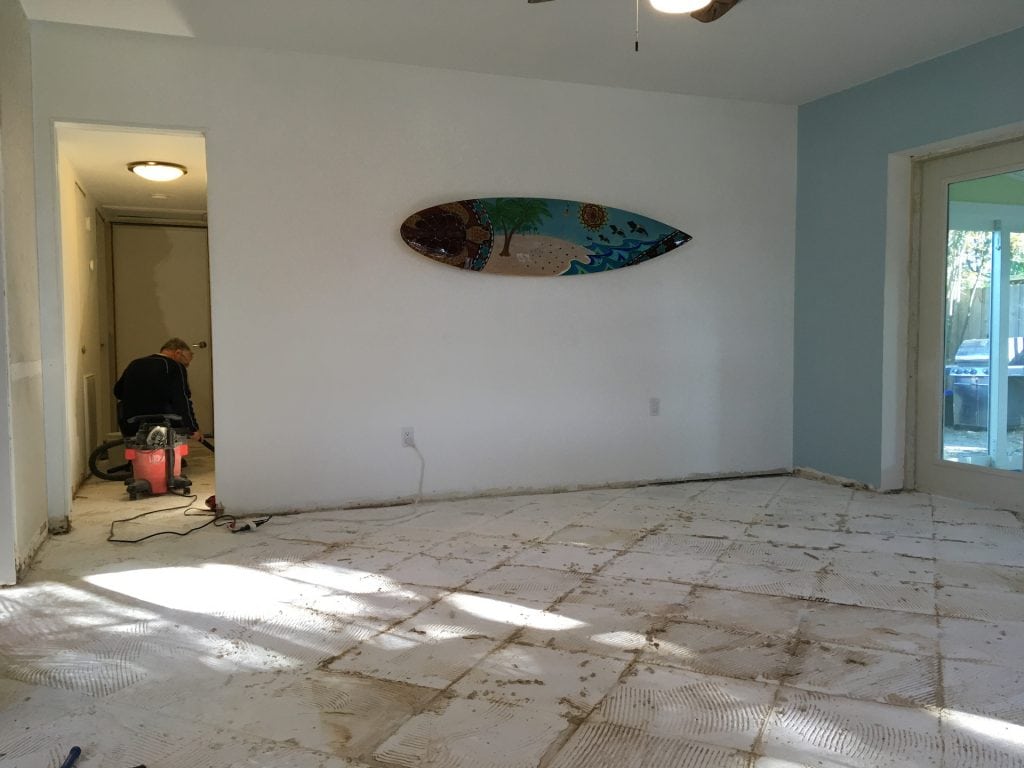
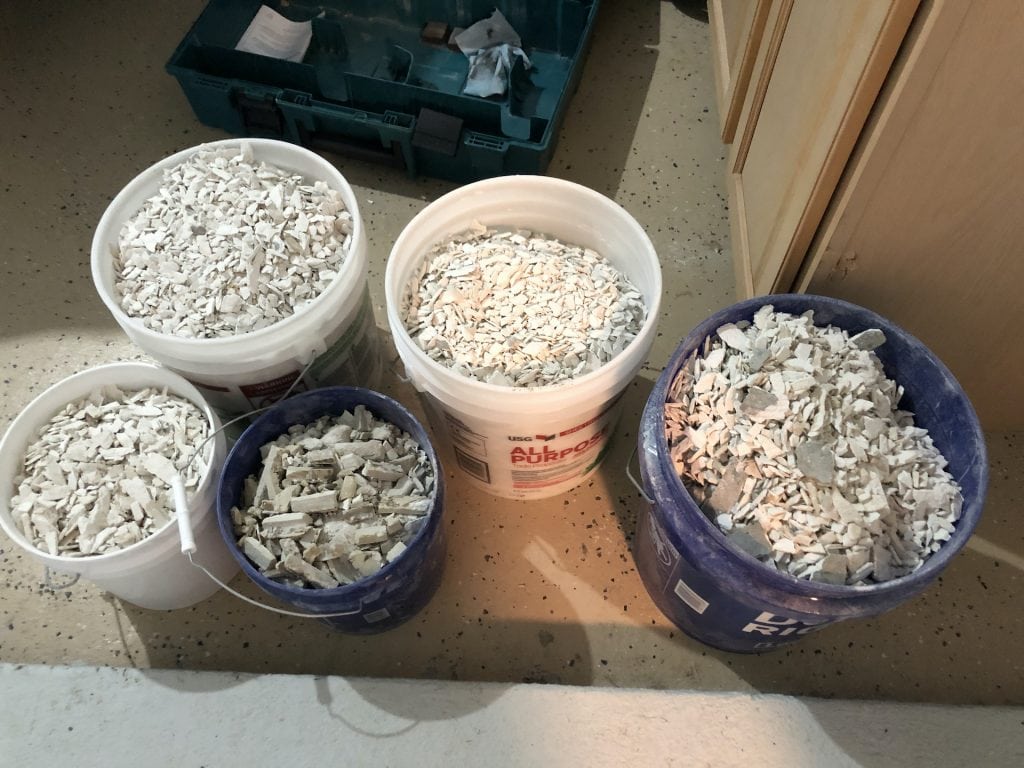
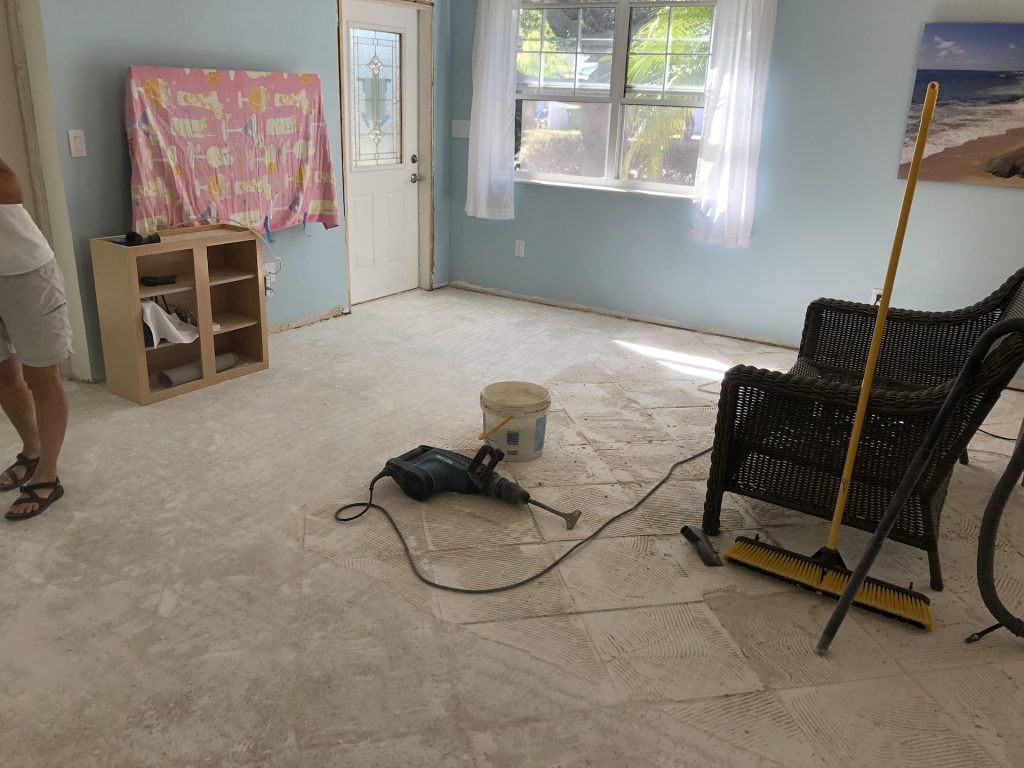
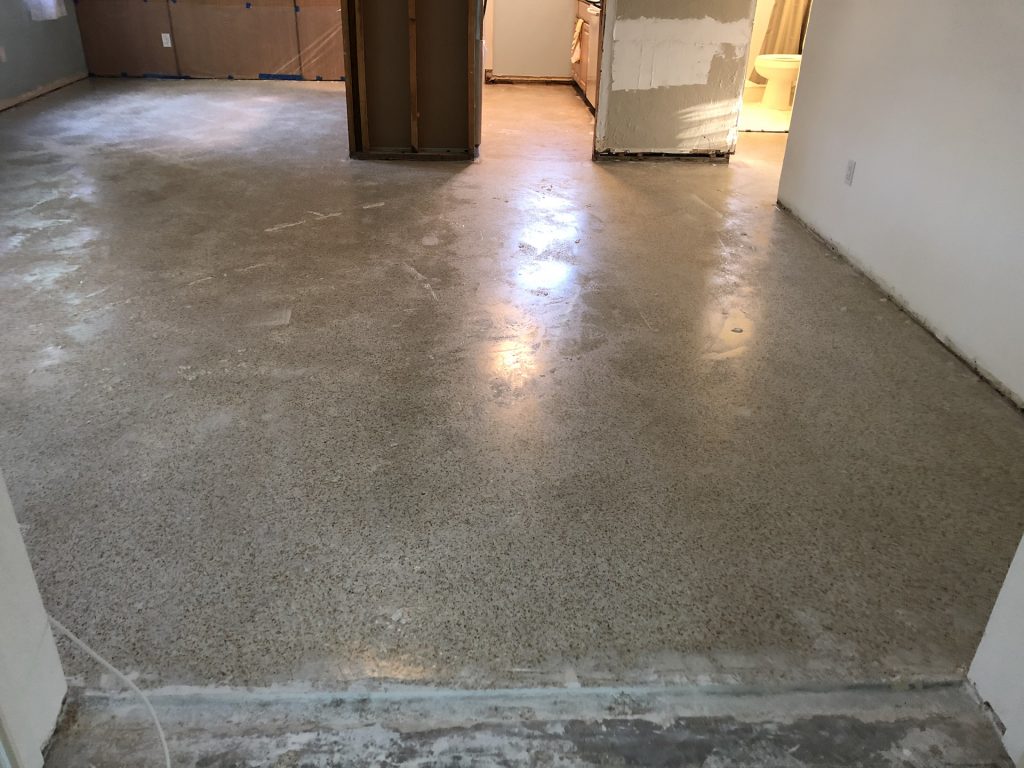
Finally, there were the floors. It was a combination of our own work and the high skills of a great local flooring company. I knew we had the right guy when he said, "Hey, I'm from the old country and we do it right.". He was from Portugal and was a funny guy - stands behind his work, we were thrilled. But before they would show up, we had to remove acres of that poorly laid tile. And after a couple of days I thought I was headed for the hospital. The process required doing squats for hours at a time, while bending over and wrangling the demolition hammer (which was admittedly overkill for this job), and shuffling along while trying not to reach too far, getting out over your skis you might say. It was tough to continue to do it right as fatigue set in. After the second day of running the tool, my back just said "No Mas". Fortunately, I married a young, strong woman and Deb just kept on going until it was all off the floor.
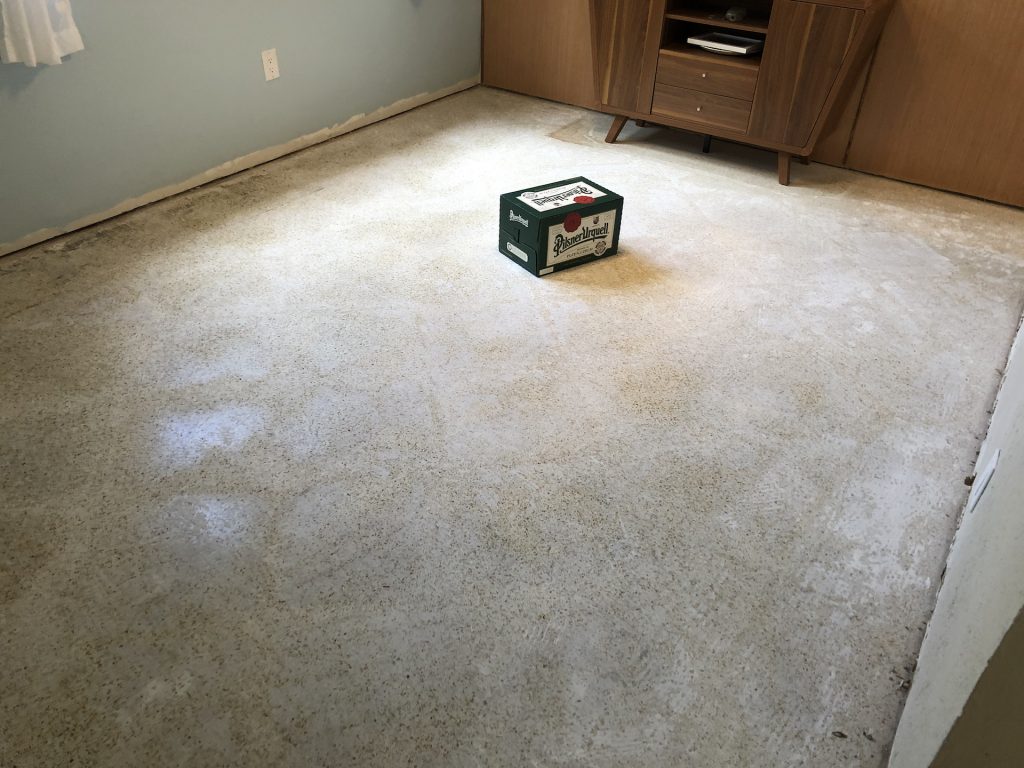
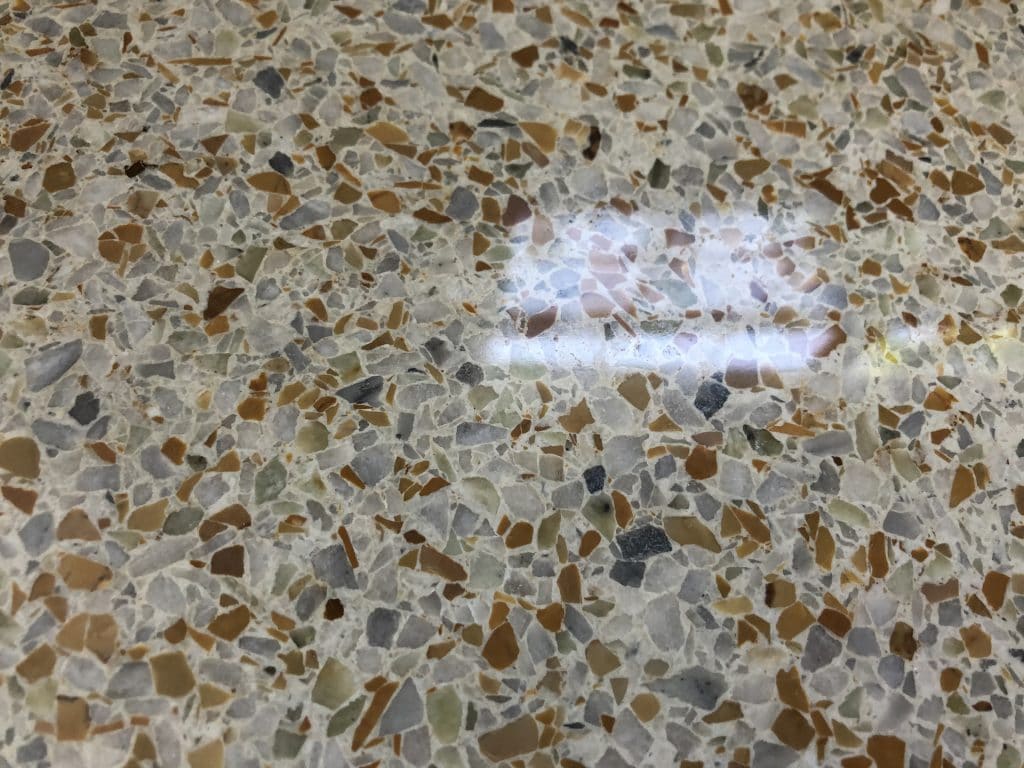
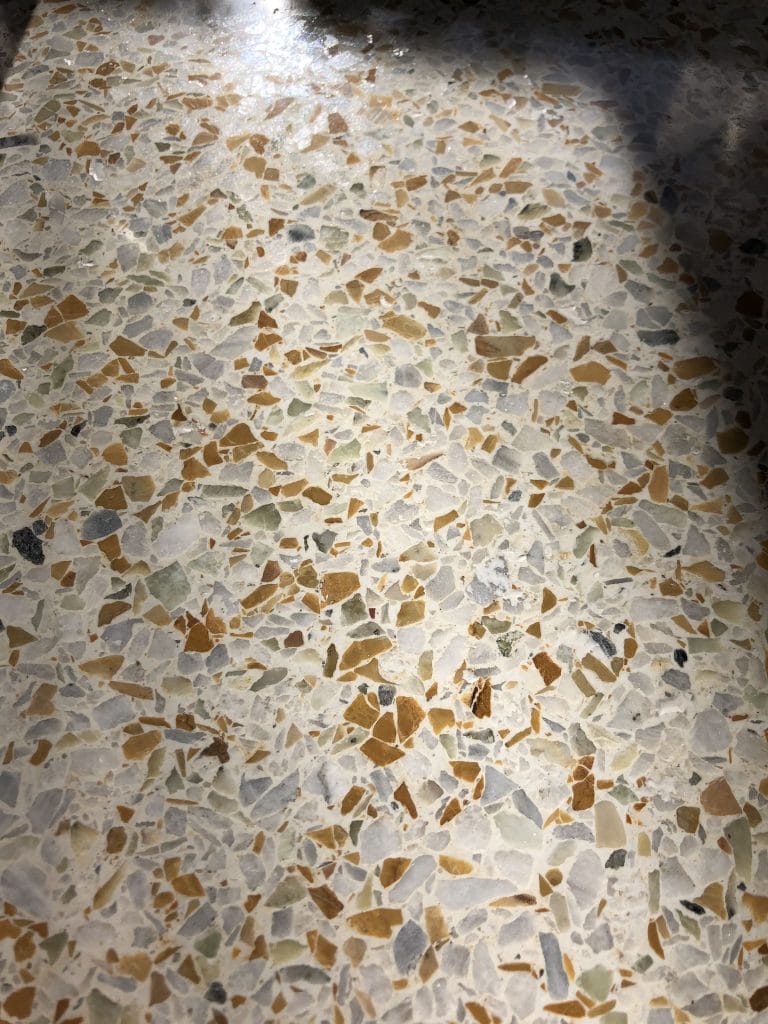
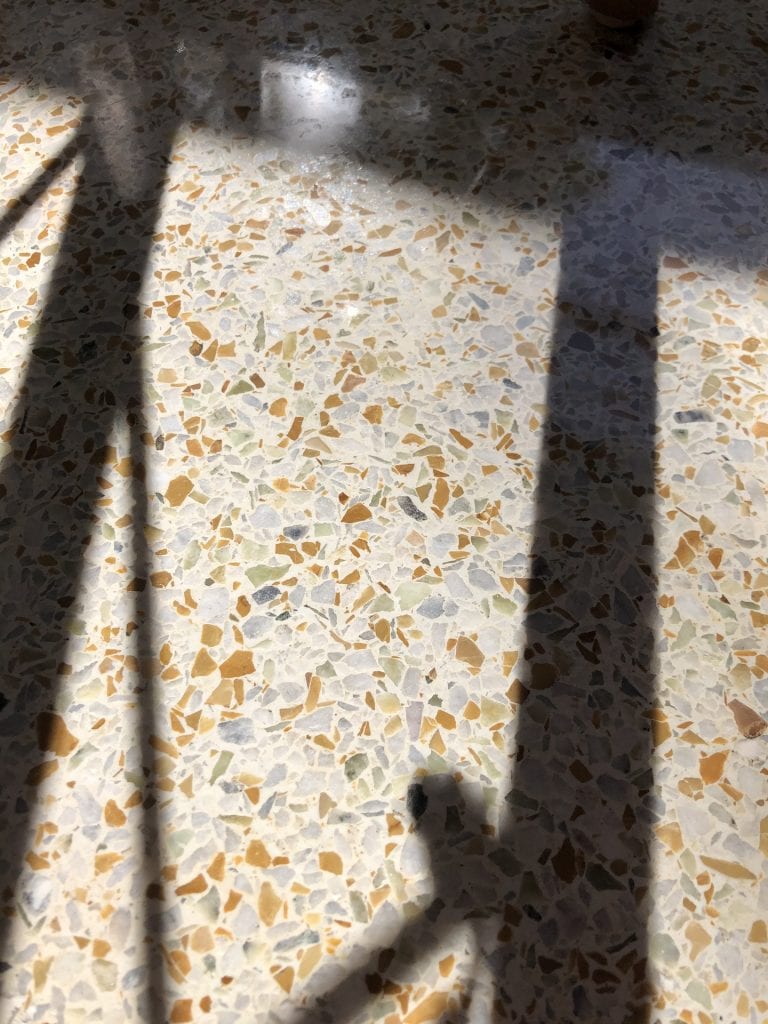
All that work got us to the point where we could call in the professionals. They looked at the floor and quoted us a number that we couldn't refuse. Had we had all that tile replaced by a tile person it would have cost twice that much. Deb's agenda from Day 1 was to have terrazzo floors and that only got stronger when she got her first glimpse of the terrazzo underneath. It looks like beach sand with sea glass in it. I'm not kidding - it couldn't be any better.
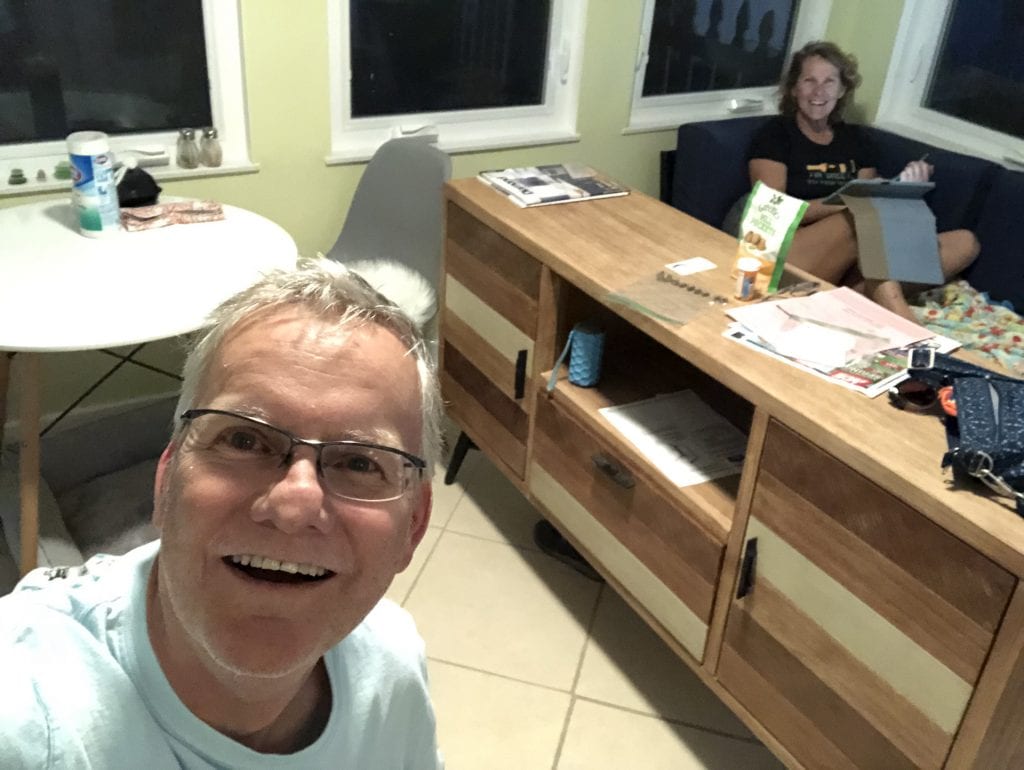
I was doubtful from the beginning, expecting large cracks from 59 years of settling, or other bad damage. It turned out to be not so bad, not bad at all. Yes, there are some cracks and some damage but they did a great job of minimizing that. We were exiled to the Florida Room because their work was not only in the living room, blocking off the front door, but also in the kitchen, which blocked off the garage entrance. We had to move all the furniture, which wasn't much because we're minimalists and because much of what we'd ordered was still in transit. So we put most of it in the Florida Room and that became our hangout for 2 days.
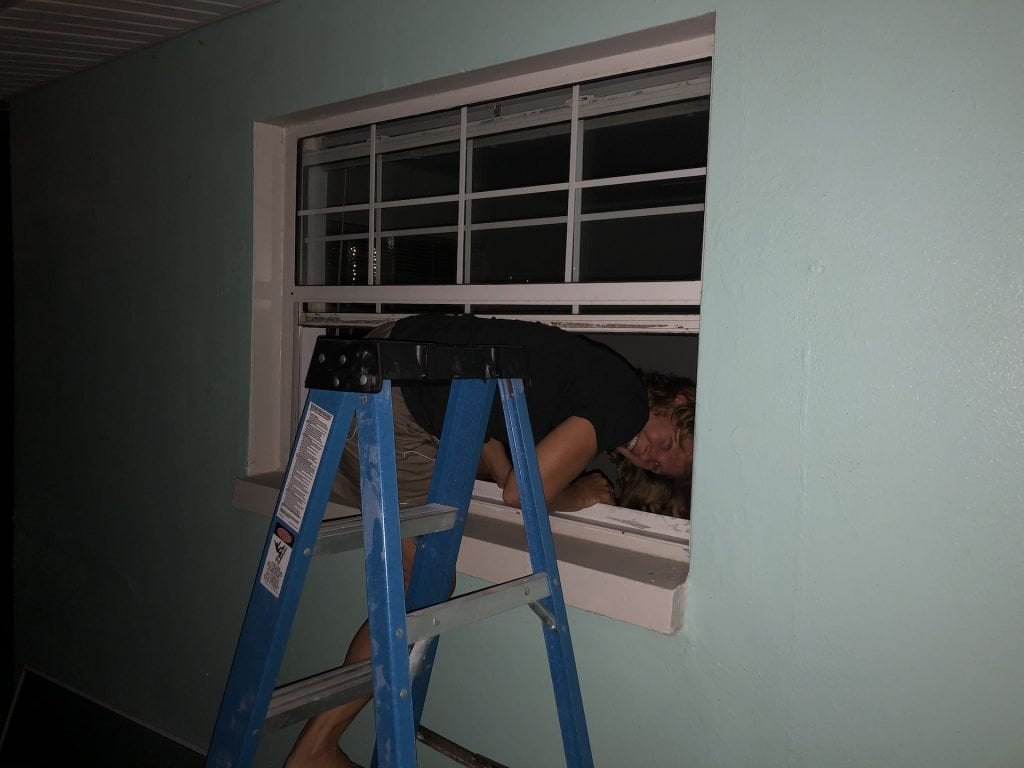
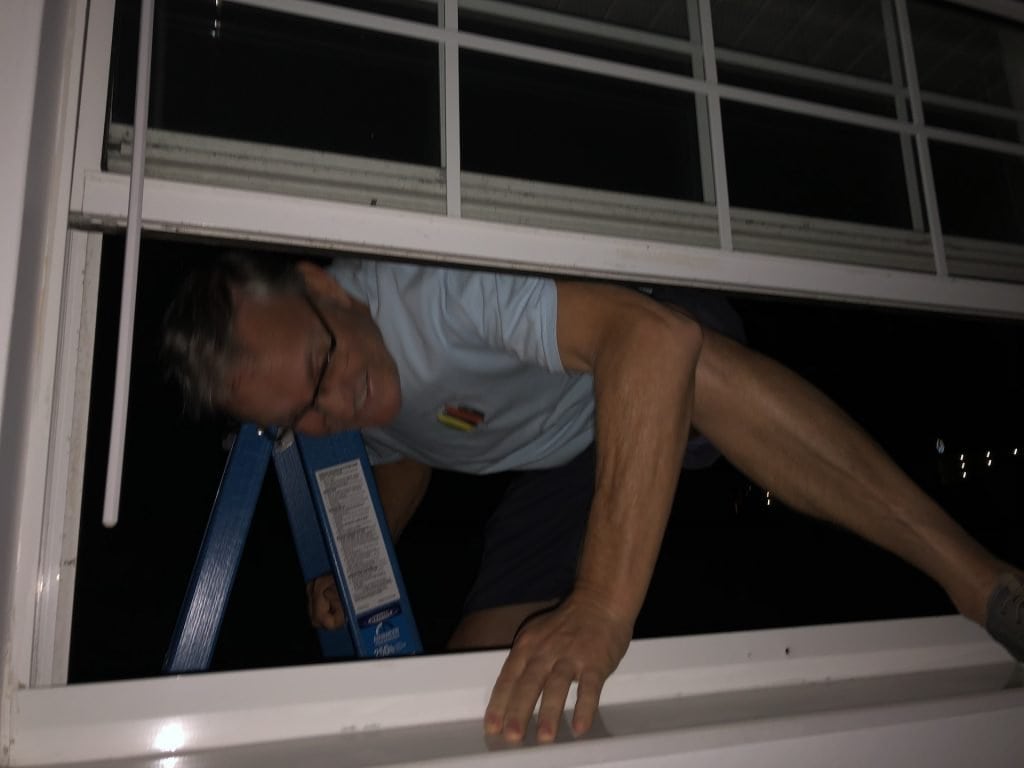
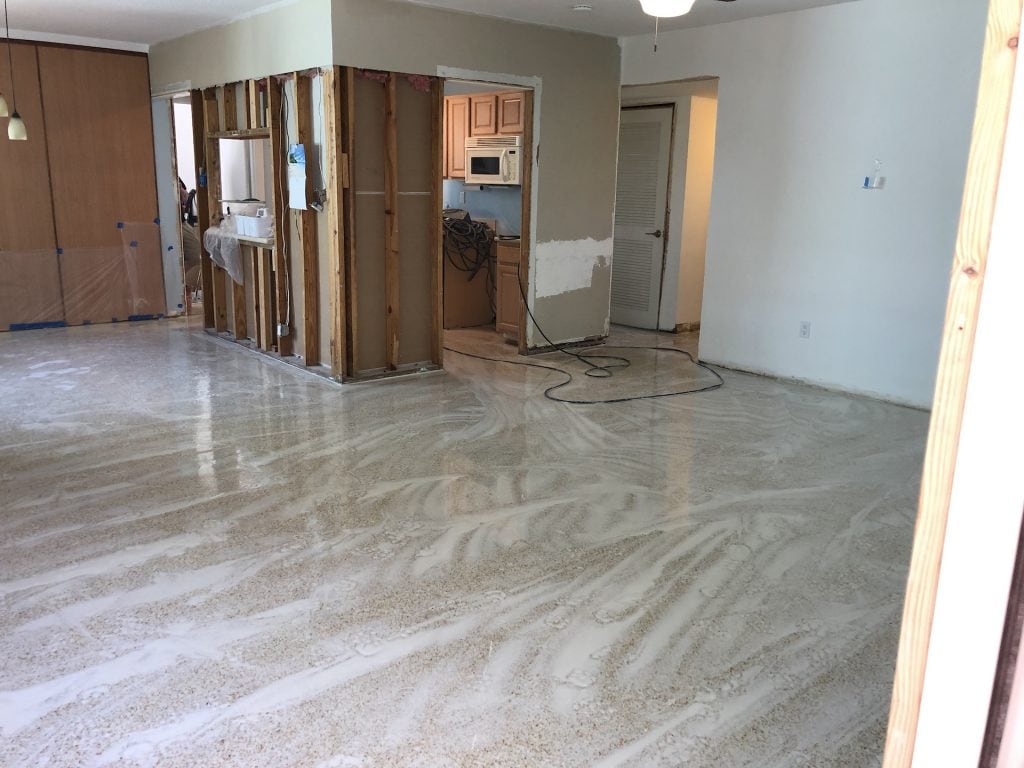
Late on the first day, the "old country" guy Abel, said he needed to talk with us. Uh oh. He said that there was a lot of damage and we have to do an extra step to make it right. The thinset they used on the tile was very aggressive (we knew, we had to remove it!). It was so aggressive/strong that, unbeknownst to us, while removing the tile and thinset, we were popping up some of the stones in the terrazzo. So we had a lot of pits to deal with and his solution was a slow drying epoxy that they would spread like peanut butter on the floor. Let it dry overnight, and get back to work the next day. He asked, "You're not staying here, are you?". "Yes, we live here" was our reply. "Oh, then we can't do the epoxy", he said. We assured him that we would do what it takes to get this floor done right, including climbing in the bedroom window to go to bed. So yes, that's what we did. We showed him the pictures the next day and he just laughed and laughed! It was a minor inconvenience for such a major improvement.
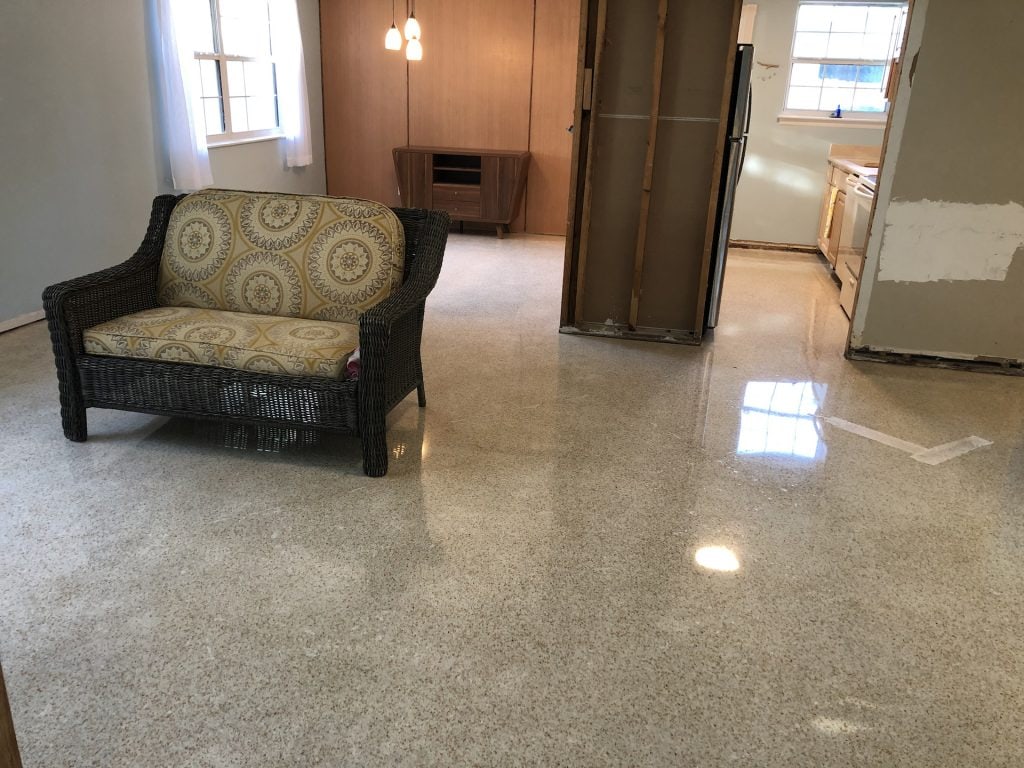
It was two days of purgatory, and then we were in heaven! Take a look below and you can see how it went.
In the end, the floor has some minor cracks, it has some pits, and it has some damage. And it looks beautiful! For a 59 year old floor, we couldn't be more happy with it.
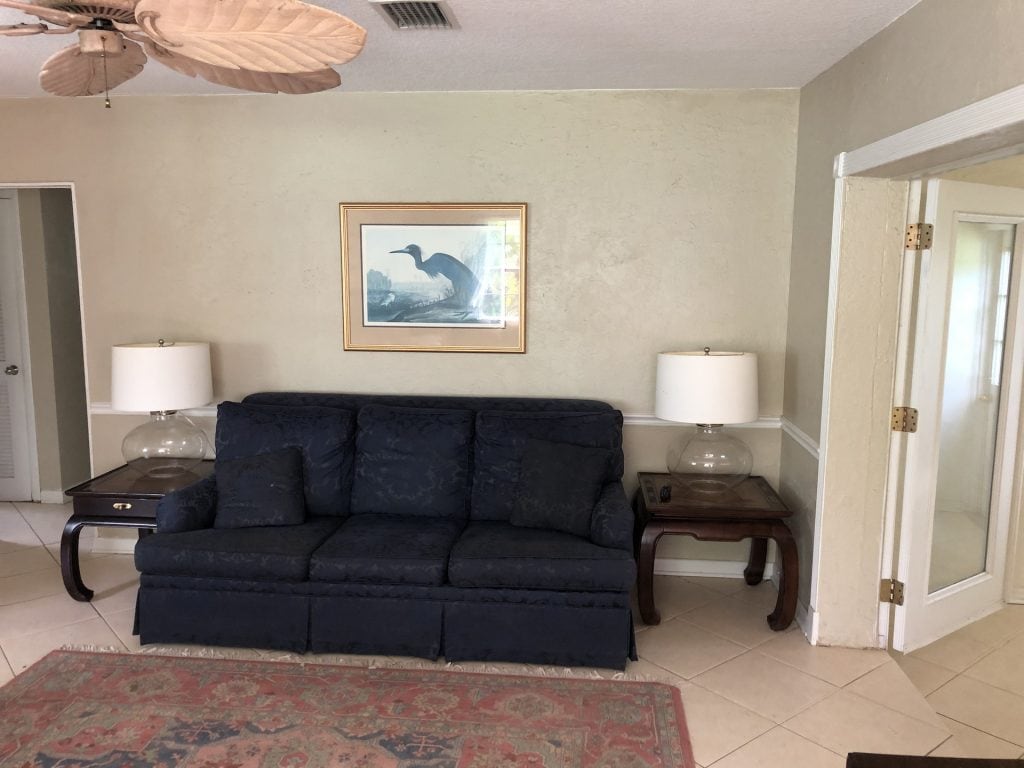
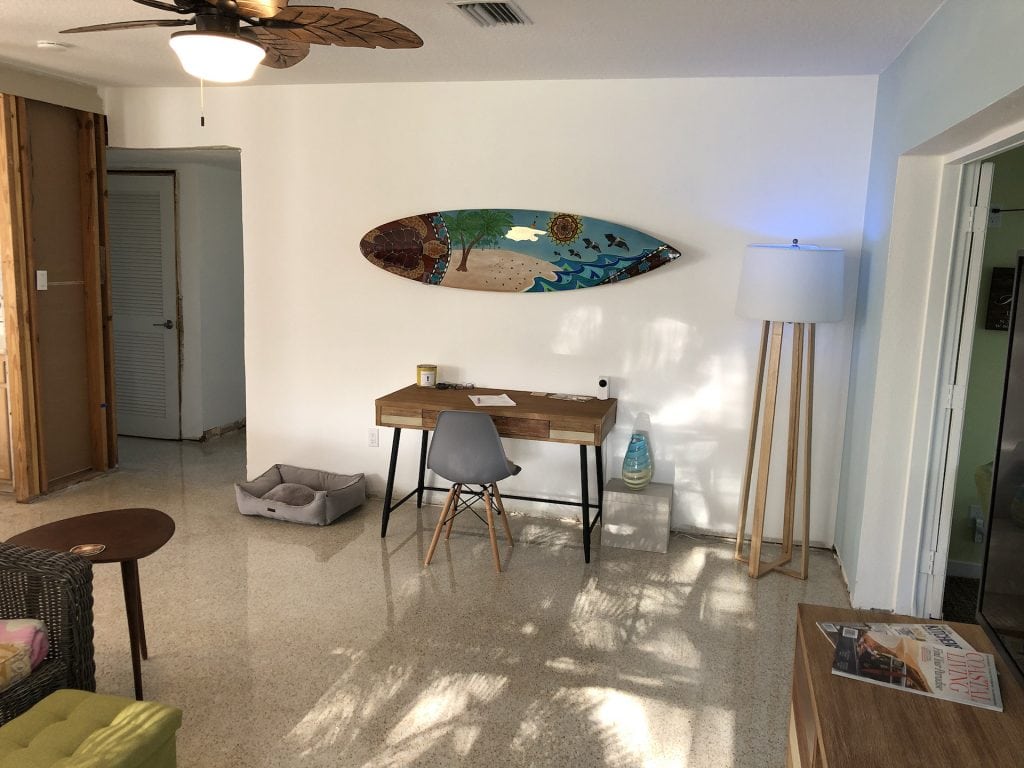
So that wrapped up the major work in the living room. We still have furnishings and some decorating to do (for example, that's not our real couch in the picture - it's still on order), but it's a fully functioning living room now.
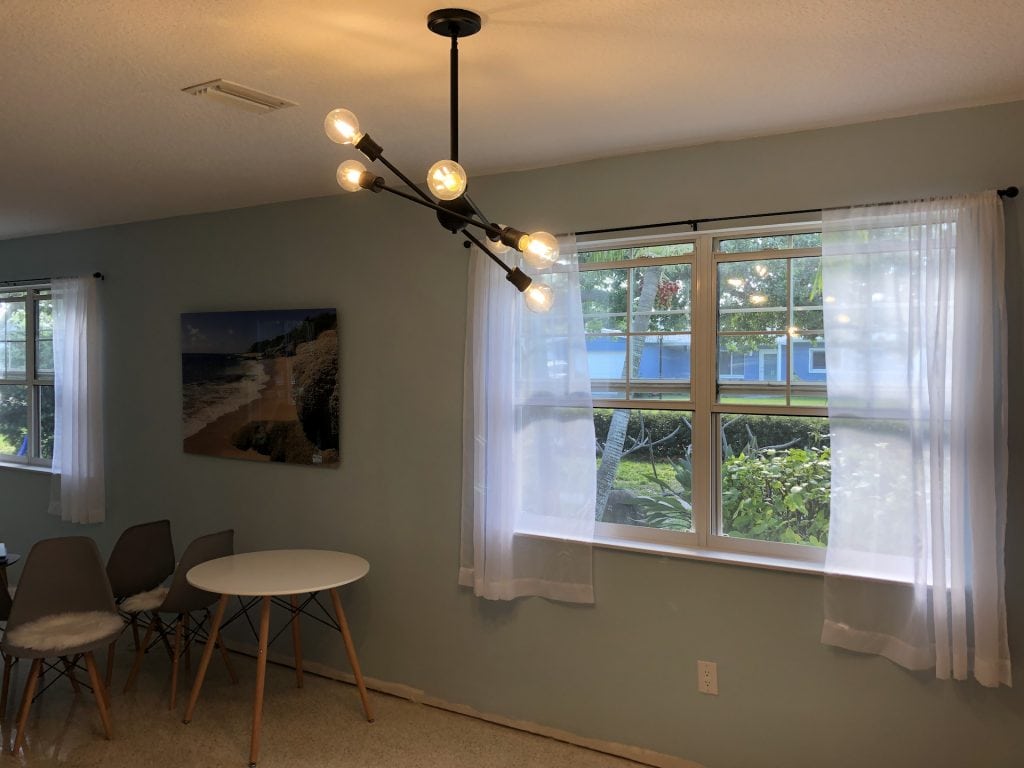
Oh, also in this room, we replaced the broken tile windowsills with solid quartz, replaced the ceiling fan, new sheers and curtain rods, a new Sputnik light in the dining room, and added a bunch of smart switches. We needed to modernize this place a little bit! I'm sure there are some other things I'm forgetting, like the tile threshold we added between the living room and Florida Room (because the terrazzo was all destroyed here. But no, I'm not forgetting the trim boards that we really haven't attacked anywhere in the house. It'll get done one day. Just not today.
And After
Here's what it looks like now. Again, we're still waiting on some furniture and still need to finalize some decorating but it won't change a lot from this. It's starting to feel like a home now!
Next (and this is going to take a while), the kitchen! It's a small space but another long saga, with plenty of waiting on things to arrive (think: cabinets, appliances, countertops, etc.).
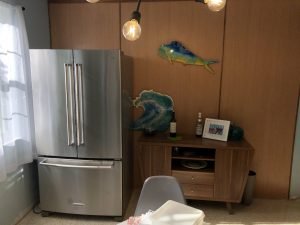
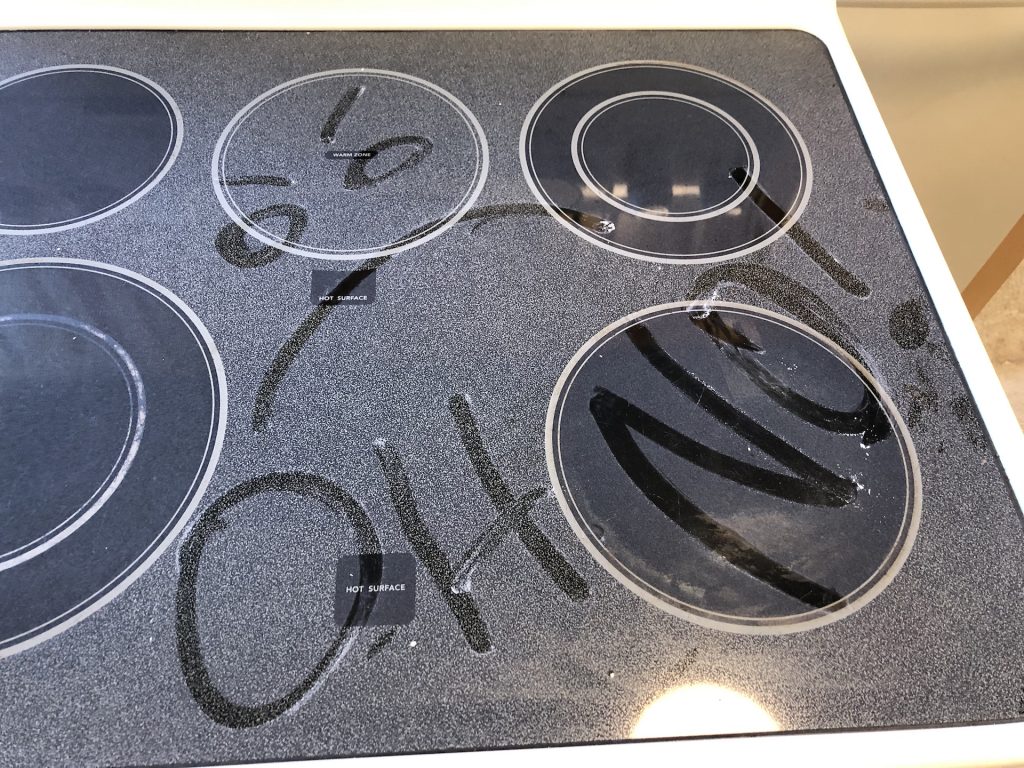
PS. Speaking of the kitchen, and staging, and whether a living room is for living, is a dining room for dining? Because right now we have a refrigerator in our dining room.
It's good though, because it definitely beats a toilet in the living room!
TODAY'S SPECIAL: "Easy Livin'", by KBong ft. Stick Figure. We're livin' easy, and we're easy livin', in the livin' room!


Awesome floor! The whole place is looking great.
They said it would feel like baby powder on my feet. I thought , that is weird for a hard floor. But it does! It’s soft and squeaky!
I love the floors!!! They look amazing…and yes epoxy is amazing! That floor will look that good for another 59 years! Great job!
Thanks! ????????
Thank you Lisa! We’re really happy with them. We call them our forever floors.
What a great transformation. Fantastic job!!!
It’s getting there….feeling good…
Thanks Matthew. It’s been hard work, and it isn’t over yet, but we’re finally getting closer to real life and enjoying living here.
Wow what fun to read! What a challenge! Wow.
Thanks Lou, we enjoy putting the blog together and sharing the craziness!
Thanks for sticking with us Lou!
Very beautiful and very quality work. The photos really make it look super. I will admit I had to look up terrazzo flooring, but now I know what it looks like.
Thanks David! You know as well as I do that photos can say what you want them to say. 🙂
We realized later that a lot of people don’t know what terrazzo is. I may add a little description to this post, but it’s basically a poured concrete floor with glass stones in it, that is then polished to a smooth surface. It was extremely popular around the time I was born, and came in many colors. We were super lucky that these were this sort of “beach sand and sea glass” look.
But then everyone covered it up 6 ways to Sunday, for decades, in all the old houses. Now, it is becoming really popular again. Our Realtor told us that she has buyers asking specifically for terrazzo. New terrazzo floors cost 5-10 times what we paid to restore these.
Glad to see you both wearing your safety sandals……
LOL! Yes, we are always so very careful!
WOW – impressive how much work and how great it is turning out. Maybe “Hope” is a good thing in the right doses 🙂
There’s still plenty of “hope” to go around over here as we wait for kitchen cabinets, appliances, etc. 🙂
What a talented couple you are, Butch and Deb. Such great work.
wonderful photos and descriptions of the jobs done.
Thank you Alouise, it keeps us busy. Too busy sometimes, but we’re nearing the end. Or probably just the end of the beginning. 🙂